
Best Practices for Painting Over Glossy Surfaces
Key Highlights of the Article
- Proper Preparation is Key: Emphasizes the importance of cleaning, sanding, and priming glossy surfaces for successful painting.
- Best Techniques for a Smooth Finish: Offers practical advice on choosing the right paint, tools, and application methods.
- Avoiding Common Mistakes: Highlights the pitfalls of skipping preparation steps and using the wrong tools, and how to avoid them.
- Maintaining Painted Glossy Surfaces: Provides tips on how to clean, care for, and touch up painted glossy surfaces to keep them looking great.
Best Practices for Painting Over Glossy Surfaces
Painting over glossy surfaces can be a daunting task for many homeowners. The smooth, slick nature of these surfaces makes them less receptive to new paint, often leading to frustrating issues like peeling, chipping, or a patchy finish. But don't worry—I've been there before, and with the right approach, you can achieve a flawless finish that looks professional. Let's dive into the best practices for painting over glossy surfaces and avoid some common mistakes.
Understanding Glossy Surfaces and Their Challenges
Why Glossy Surfaces are Tricky to Paint Over
High Surface Tension
The primary challenge of painting over glossy surfaces is their high surface tension. Imagine trying to stick a piece of tape onto a shiny, slick surface—it just doesn't adhere well, right? Glossy surfaces, whether they're high-gloss walls, lacquered furniture, or shiny wood trim, have a similar effect on paint. Their smooth, reflective finish doesn't allow the new paint to grip properly, leading to poor adhesion.
When the paint can’t adhere properly, it can start to peel or chip over time, especially in high-traffic areas or places exposed to moisture. This is why it's crucial to properly prepare the surface before painting to reduce the surface tension and create a better bonding surface for the new paint.
Common Issues
Without the right preparation, painting over a glossy surface can result in a range of issues. The paint might peel or flake away, leaving a messy and uneven finish. You might also notice streaks or brush marks that seem impossible to eliminate. Worse yet, the paint might fail to cover evenly, causing you to use more coats and, ultimately, more time and money. But with the right steps, these problems can be easily avoided.
Types of Glossy Surfaces
Painted Wood
Challenges of Painting Over Glossy Wood Finishes
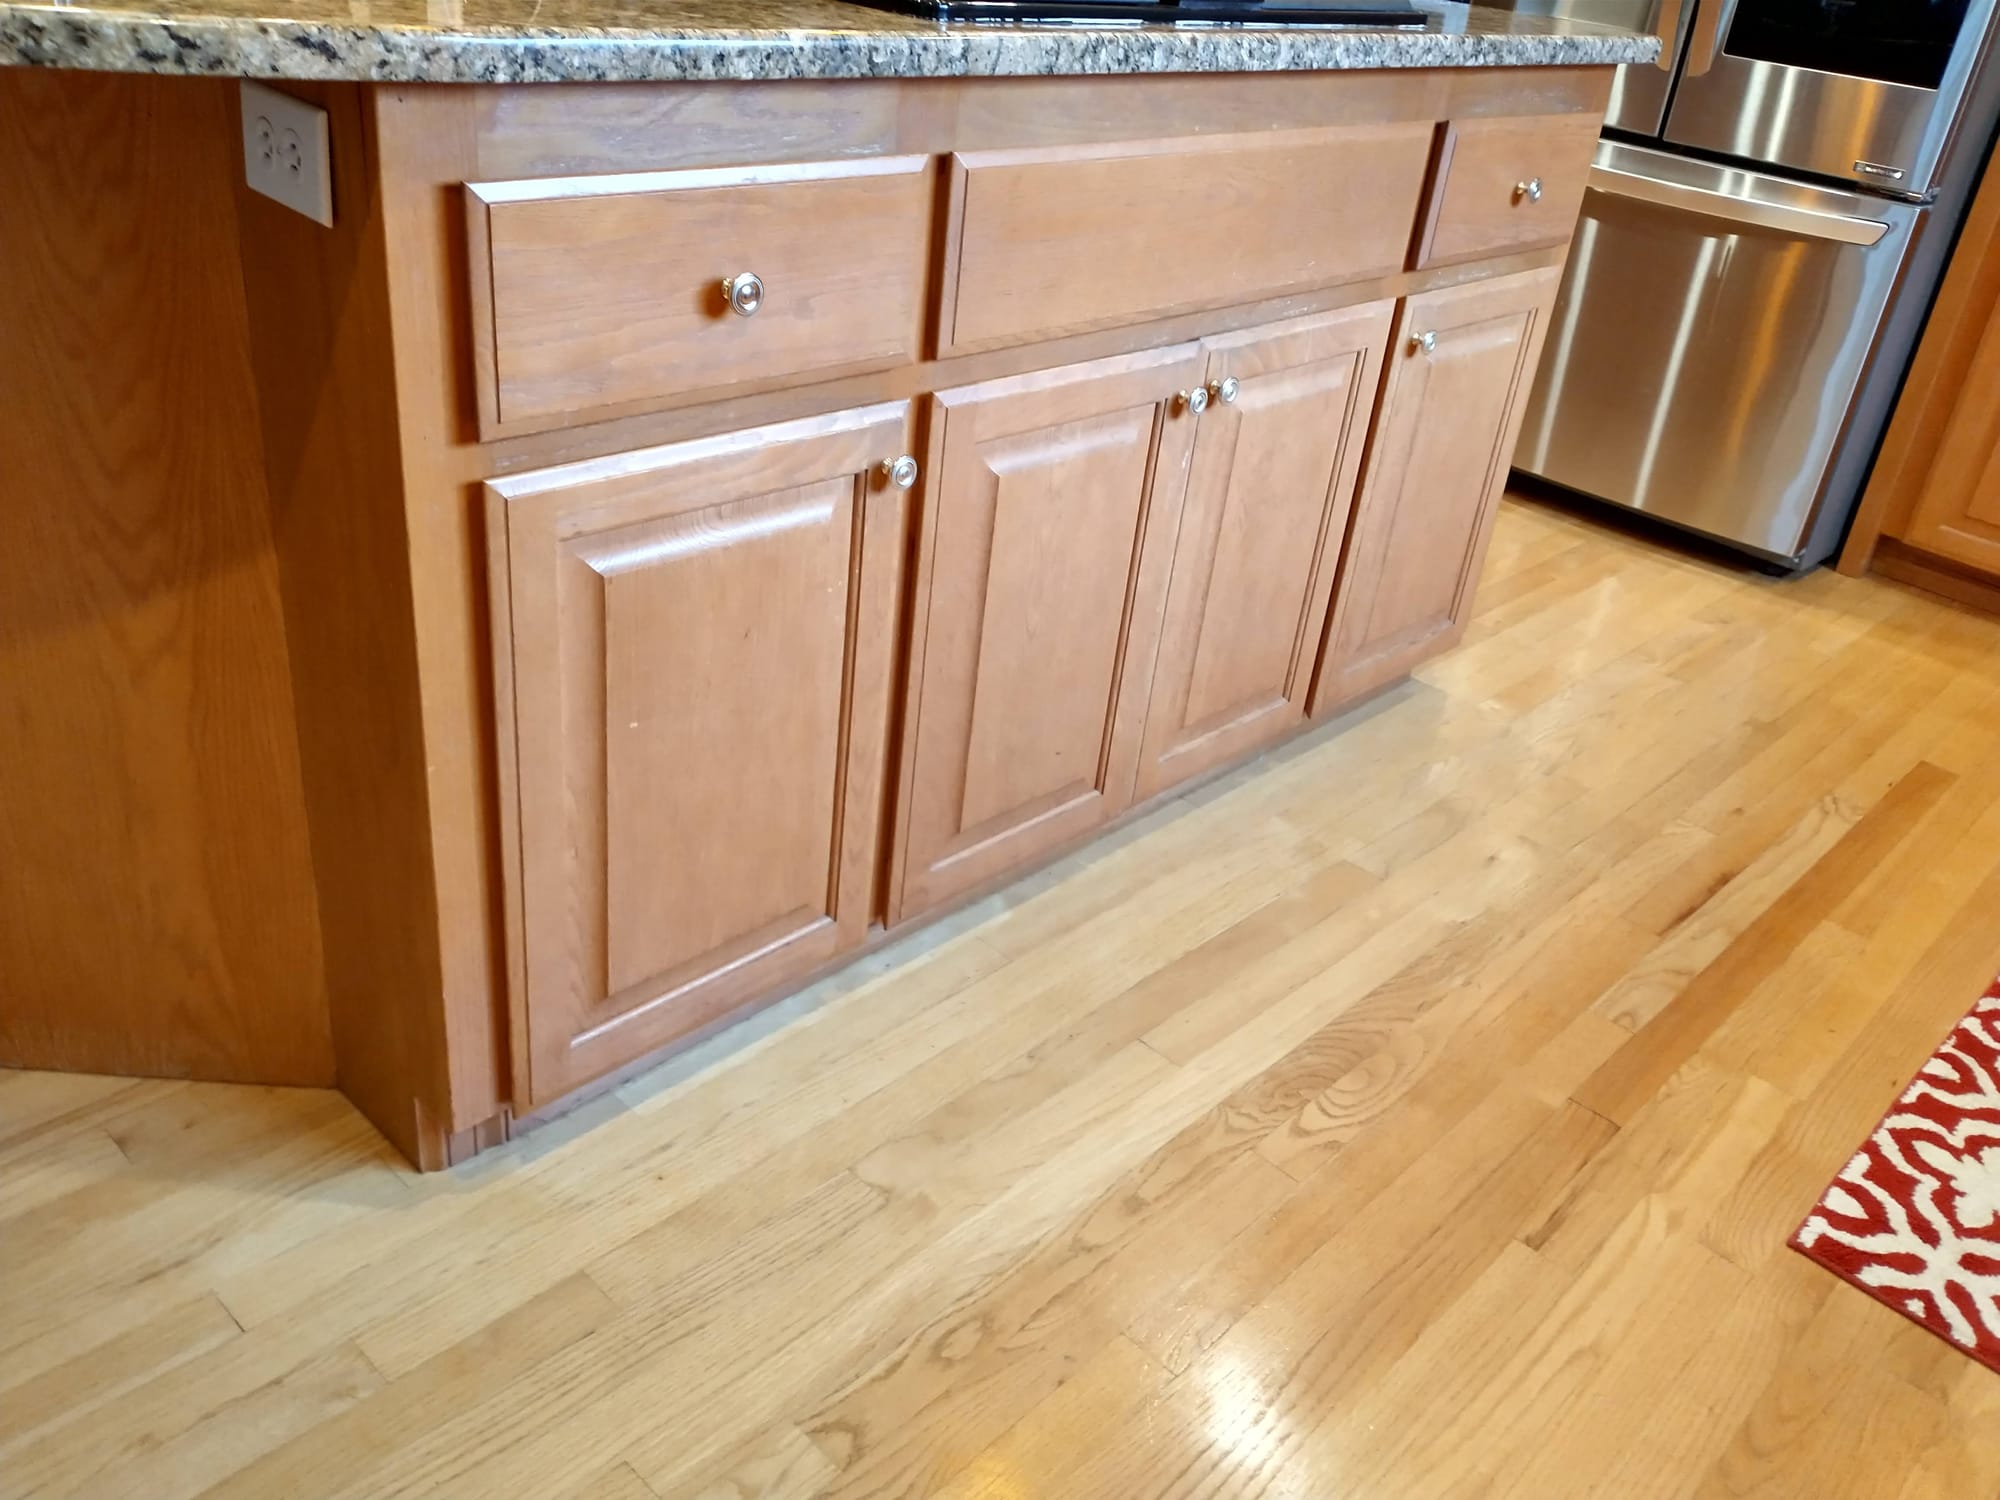
Glossy wood surfaces, like trim, doors, and cabinets, are particularly challenging because they often have a lacquer or polyurethane finish. These types of surfaces repel water and oils, which are key components in most paints. Before you even think about applying a new coat of paint, you need to break down that shiny finish.
For glossy wood, sanding is your best friend. Use medium-grit sandpaper to scuff up the surface lightly. You're not aiming to strip the paint entirely but rather to create a rougher surface that the new paint can cling to. Once you've finished sanding, be sure to clean off all dust and debris with a damp cloth—any leftover particles can ruin your smooth finish.
Glossy Walls
Painting Over Glossy Interior Walls
Painting over glossy interior walls, particularly in kitchens and bathrooms, can be tricky. These walls are often coated in a gloss or semi-gloss finish to resist moisture and stains. Unfortunately, these same qualities make them difficult to paint over.
Before you start, give the walls a good cleaning with a mild detergent or degreaser to remove any dirt, grease, or residues. After cleaning, lightly sand the surface to dull the gloss. Remember, the goal here is to reduce the sheen, not remove the paint entirely. Once sanded, apply a bonding primer specifically designed for glossy surfaces—this will help the new paint adhere better and create a durable finish.
Furniture and Cabinets
Updating High-Gloss Furniture and Cabinets
Furniture and kitchen cabinets with a high-gloss finish present their own set of challenges. Whether it's a lacquered dresser or glossy cabinet doors, these surfaces require careful preparation to ensure the new paint bonds properly.
Start by removing all hardware and thoroughly cleaning the surfaces with a degreaser. Next, sand the glossy finish with fine-grit sandpaper to create a slightly rough texture. After sanding, apply a high-quality bonding primer designed for slick surfaces. Once the primer is dry, you’re ready to paint—but make sure to use a paint that’s appropriate for furniture or cabinets, such as a durable enamel.
Things to Know
- Preparation is Crucial: Skipping steps in surface preparation can lead to poor paint adhesion and a less durable finish.
- Choose the Right Tools: Using quality brushes, rollers, or sprayers appropriate for the type of paint and surface can significantly affect the outcome.
- Monitor the Weather: When painting exterior surfaces, weather conditions can impact drying times and paint behavior.
- Regular Maintenance: Even the best paint jobs require maintenance; regular cleaning and touch-ups will keep your painted surfaces looking new.
- Professional Advice: Consulting with professional painters can provide insights into advanced techniques and materials that might not be widely known to DIY enthusiasts.
Best Practices for Preparing Glossy Surfaces
When it comes to painting over glossy surfaces, preparation is everything. As someone who has seen many projects go south due to poor preparation, I can't stress enough the importance of taking the time to get this step right. Glossy surfaces pose a unique challenge due to their slick, smooth texture that doesn’t readily accept paint. However, with the right approach, you can ensure a long-lasting, flawless finish. Let's dive into the best practices for preparing glossy surfaces for painting.
Cleaning the Surface
Remove Dirt and Grease
The first step in preparing a glossy surface is to thoroughly clean it. Dirt, grease, and grime can prevent paint from adhering properly, leading to peeling or flaking down the line. If you’ve ever tried painting over a greasy kitchen cabinet, you know exactly what I’m talking about—it just doesn’t stick!
Use a degreaser or a TSP (trisodium phosphate) solution to effectively clean the surface. TSP is particularly good at cutting through grease and removing residues that other cleaners might leave behind. Mix the TSP according to the manufacturer’s instructions, and scrub the surface with a sponge or cloth. Remember to rinse the surface thoroughly with clean water afterward to remove any remaining cleaner. This step is critical for achieving a clean, paint-ready surface.
Recommended Cleaners
For most glossy surfaces, a mixture of warm water and a few drops of dish soap will do the trick for light cleaning. However, for surfaces with heavy grease or grime, such as kitchen cabinets, you’ll want to opt for a stronger cleaner like TSP or a commercial degreaser. I’ve found that having a dedicated cleaning solution in my toolbox is always worth the small investment—especially when it saves hours of rework later.
Sanding the Surface
Why Sanding is Essential
Sanding is arguably the most important step when preparing glossy surfaces for painting. Glossy surfaces are smooth and have a high surface tension, which makes it difficult for paint to adhere properly. Sanding helps to dull the gloss, creating a rougher texture for the new paint to grip. If you skip this step, you might find your fresh paint job peeling or chipping sooner than you'd like.
Sanding Techniques
When sanding a glossy surface, always use fine-grit sandpaper, such as 220-grit. This is coarse enough to scuff the surface without damaging it. Lightly sand in a circular motion, applying even pressure to avoid gouging the surface. The goal is to dull the gloss, not to remove all the existing paint or finish. After sanding, make sure to wipe down the surface with a damp cloth to remove any dust. This small step makes a big difference in achieving a smooth finish.
Alternative to Sanding
If sanding sounds like too much work, or if you’re dealing with intricate surfaces that are hard to sand, consider using a liquid deglosser. Liquid deglossers, also known as liquid sandpapers, chemically etch the surface, providing the same benefit as manual sanding without the elbow grease. Simply apply the deglosser according to the product instructions, and you’re ready to prime. It’s a great option for those tight corners and hard-to-reach areas where sandpaper can’t easily go.
Priming the Surface
Importance of Priming
Priming is a critical step that many people overlook, especially when painting over glossy surfaces. Primer helps to seal the surface and provides a bonding layer that improves paint adhesion. This is particularly important when dealing with glossy finishes, which tend to repel paint. Without a primer, your paint job is at risk of flaking, chipping, or peeling over time.
Choosing the Right Primer
For glossy surfaces, it’s essential to choose a high-quality bonding primer. Look for oil-based or shellac-based primers, which are specifically designed to adhere to slick surfaces. These primers are formulated to grip onto smooth finishes, creating a strong base for your topcoat. I’ve had the best results with shellac-based primers, which dry quickly and provide excellent adhesion, even on challenging surfaces like glossy tile or high-gloss trim.
Application Tips
Applying primer correctly is just as important as choosing the right one. Make sure to apply the primer evenly using a brush or roller suited for the surface you’re working on. Use a high-quality synthetic bristle brush for woodwork or a roller with a short nap for smooth surfaces. Apply the primer in thin, even coats, and allow it to dry thoroughly—don’t rush this step! Depending on the primer and the surface, you might need to apply a second coat to ensure full coverage.
Best Painting Techniques for Glossy Surfaces
Painting over glossy surfaces can be a bit of a challenge, but with the right techniques, tools, and preparation, you can achieve a beautiful, long-lasting finish. I’ve seen firsthand how following these best practices can make a significant difference in the outcome. Let’s dive into some of the best techniques for painting over glossy surfaces, ensuring you get the professional-quality results you’re after.
Choosing the Right Paint
Paint Selection
Choosing the right paint is essential when painting over glossy surfaces. The key is to select a paint that offers excellent adhesion and durability. For glossy surfaces, latex or acrylic paints are usually the best choices. They are flexible, easy to work with, and tend to adhere well to properly primed surfaces. Latex paint, in particular, is a go-to for many professionals due to its quick drying time and ease of cleanup.
However, if you’re dealing with an area that requires maximum durability, like a bathroom or kitchen, acrylic paints might be your best bet. They are more resistant to moisture and provide a hard, durable finish that can withstand high traffic and frequent cleaning. Whichever type of paint you choose, make sure it is formulated for the specific surface you are painting to ensure the best results.
Matte vs. Satin Finishes
The finish you choose can greatly impact the final look and feel of your project. A matte finish will give you a soft, velvety appearance, which is great for hiding surface imperfections but may not be as easy to clean. On the other hand, a satin finish offers a slight sheen, which is more forgiving when it comes to cleaning and maintaining. Satin finishes are ideal for areas that see more traffic or are prone to dirt and stains, like hallways, kitchens, and bathrooms.
Personally, I find that using a satin finish on glossy surfaces strikes the right balance between aesthetics and functionality. It provides a subtle shine that enhances the paint’s color while being easy to clean. Remember, the choice between matte and satin ultimately depends on the specific needs of your space and your personal preference.
Proper Application Techniques
Brush or Roller
When it comes to applying paint over glossy surfaces, selecting the right tool is crucial. For larger flat areas, like walls, a roller is typically the most efficient choice. It allows you to cover a large surface quickly and evenly. Choose a high-quality roller with a low-nap or foam cover to minimize texture and ensure a smooth finish.
For smaller, more detailed areas, such as trim or furniture, a high-quality brush is your best bet. Look for a brush with synthetic bristles designed for use with latex or acrylic paints. If you’re tackling an intricate surface or tight corners, an angled sash brush will provide better control and precision.
For the smoothest possible finish, consider using a spray gun. This tool is ideal for achieving a factory-like finish on cabinets or doors, where a flawless, uniform look is desired. However, using a spray gun requires some experience and practice, as well as proper setup and cleanup. If you’re new to using a spray gun, be sure to practice on a scrap piece of wood or cardboard before tackling your main project.
Multiple Thin Coats
One of the most common mistakes when painting over glossy surfaces is applying too thick a coat of paint in an attempt to cover the surface in one go. This often leads to drips, uneven coverage, and an unsightly finish. Instead, it’s essential to apply multiple thin coats of paint. Each coat should be thin enough to dry quickly and evenly but thick enough to provide good coverage.
Applying several thin coats will not only give you a more even finish but also enhance the paint’s adhesion to the surface. Make sure to allow sufficient drying time between coats—this can vary depending on the type of paint, the humidity, and the temperature of the environment. Check the manufacturer’s recommendations, but a general rule of thumb is to wait at least 2-4 hours between coats.
Drying Time Between Coats
Proper drying time between coats is critical to ensuring that the paint adheres properly and that the finish is durable. If you apply the next coat too soon, the paint may not adhere correctly, resulting in peeling or chipping over time. Rushing the process is a common mistake, especially when you’re eager to see the finished result. I always advise being patient—trust me, it’s worth the wait for a finish that looks flawless and lasts for years.
Common Mistakes to Avoid When Painting Over Glossy Surfaces
Skipping Surface Preparation
The Pitfalls of Not Prepping
Preparation is key when painting over glossy surfaces. Skipping essential steps like cleaning, sanding, or priming can lead to poor paint adhesion, an uneven finish, and peeling down the road. The slick nature of glossy surfaces means that paint will not naturally stick without the right preparation. You might think you’re saving time by skipping these steps, but in reality, you’re just setting yourself up for a do-over.
Time vs. Quality
When it comes to painting, time and quality go hand in hand. Taking the time to properly prepare the surface may seem tedious, but it is crucial to achieving professional-looking results. Invest the extra time upfront in cleaning, sanding, and priming. It pays off by saving you from frustration and extra work later.
Using the Wrong Tools
Inappropriate Brushes and Rollers
Using the wrong tools can make even the best paint look bad. Cheap brushes or rollers can leave unsightly streaks, brush marks, or lint in the finish, while the wrong type of roller can result in a texture that is too rough or uneven. Always use high-quality brushes and rollers designed for the type of paint you are using. For glossy surfaces, a foam roller or a short-nap roller is ideal for achieving a smooth finish.
Not Using a Primer
Skipping the primer is another common mistake that can ruin your paint job. Glossy surfaces require a bonding primer to ensure that the paint adheres properly. Without a primer, the paint may peel, crack, or appear patchy. Always use a primer designed for glossy surfaces—it's worth the extra step to get a finish that looks great and lasts.
In Our Experience:
"We've tackled numerous projects involving glossy surfaces where thorough prep made all the difference. From glossy kitchen cabinets to high-sheen doors, the right approach not only enhances the finish but also extends the durability of the paint job. Our commitment to meticulous preparation and quality materials has consistently led to superior results and satisfied clients."
Tips for Maintaining a Painted Glossy Surface
Once you’ve invested the time and effort into painting over a glossy surface, the next step is ensuring that your work stays looking fresh and flawless for as long as possible. Maintaining a painted glossy surface requires a bit of care and attention, but with the right techniques, you can keep that vibrant, polished finish intact for years to come. Here are some expert tips to help you maintain a painted glossy surface and avoid common pitfalls.
Cleaning and Care
Gentle Cleaning Methods
When it comes to cleaning painted glossy surfaces, gentleness is key. Glossy finishes are known for their shine and smoothness, but they can also highlight any scratches, streaks, or marks. To avoid damaging the finish, always use a soft, lint-free cloth or sponge for cleaning. A mild detergent mixed with warm water usually does the trick for everyday dust and grime.
One of my favorite cleaning solutions for glossy surfaces is a simple mix of water and a few drops of dish soap. It's gentle yet effective, especially for routine cleaning. Be sure to wring out excess water to avoid leaving any streaks behind. Also, remember to rinse the surface with a clean, damp cloth to remove any soap residue.
Avoiding Scratches and Dents
Scratches and dents are the nemeses of glossy finishes. Because glossy surfaces reflect light, even the smallest imperfection can become glaringly obvious. To prevent scratches, avoid using abrasive cleaning tools like steel wool or harsh scrubbers. Instead, opt for microfiber cloths or soft sponges that won’t scratch the surface.
If you’re moving furniture or objects near a painted glossy surface, take precautions to prevent accidental dents or scratches. For example, add felt pads to the bottom of furniture legs and use soft protective covers when moving items around. In high-traffic areas, consider using protective films or coatings that can shield the surface from everyday wear and tear.
Touch-Ups and Repainting
When to Touch Up
Even with the best care, minor imperfections can still occur over time. It's important to address these small flaws early before they become more noticeable or lead to further damage. Regularly inspect your painted glossy surfaces for signs of wear, such as chips, scratches, or faded spots. Touching up these imperfections promptly can save you the hassle and cost of a full repaint down the road.
To perform a touch-up, lightly sand the affected area with fine-grit sandpaper to ensure the new paint adheres properly. Use a small brush to carefully apply the paint, blending it into the surrounding area. Remember to use the same paint type and finish for consistency. Touch-ups are an easy way to keep your surface looking fresh and polished without needing a complete overhaul.
Repainting Over Time
While painted glossy surfaces are durable, they aren’t immune to the effects of time and use. Depending on the level of wear and the environment, you may need to repaint the surface every few years to maintain its appearance. High-traffic areas, such as kitchen cabinets or hallway trim, are more likely to require frequent repainting compared to lesser-used surfaces.
When it's time to repaint, start by cleaning the surface thoroughly and lightly sanding it to remove any old, flaking paint. Apply a fresh coat of primer designed for glossy surfaces to ensure optimal adhesion for the new paint. By following the best practices for surface preparation and paint application, you can maintain the original finish's integrity and extend the life of your paint job.
Achieving Professional Results When Painting Over Glossy Surfaces
Maintaining a beautifully painted glossy surface is about consistent care and attention to detail. By following these simple tips—such as using gentle cleaning methods, avoiding scratches, and addressing touch-ups promptly—you can ensure your glossy surfaces remain stunning for years. And if repainting becomes necessary, approaching it with the right preparation and techniques will help maintain that professional finish.
So, whether you're working on kitchen cabinets, doors, or trim, remember that a little maintenance goes a long way. Embrace these best practices, and tackle your next painting project with confidence, knowing that you have the know-how to achieve and maintain a flawless finish. Your home deserves nothing less than the best!
Do You Have Questions? Give Us A Call With Any & All! 503-389-5758
-
People Also Ask:
Can you paint directly over glossy surfaces?
No, painting directly over glossy surfaces without proper preparation can lead to peeling and chipping. It's essential to clean, sand, and prime glossy surfaces to ensure the new paint adheres properly and provides a lasting finish.
What type of primer should be used on glossy surfaces?
For glossy surfaces, it's best to use a high-quality bonding primer that is designed to adhere well to slick surfaces. Oil-based or shellac-based primers are recommended because they provide a solid foundation for the topcoat, enhancing paint adhesion and durability.
How can you avoid brush marks when painting over glossy surfaces?
To avoid brush marks, apply multiple thin coats of paint instead of one thick coat. Use high-quality brushes or rollers designed for the type of paint you are using. For larger, flat surfaces, a spray gun can provide a smooth, even finish without brush marks.
-
SUBSCRIBE TO OUR BLOG: Stay informed with the latest in Painting and DIY projects by subscribing to Lightmen Painting. Get insights, tips, and more delivered straight to your inbox. We would also love to know what you would like to read about, leave thoughts on where we should go next. Interests, Topics, Ideas, all are welcome.

If your in the Portland, Or. area and need advice or a free no obligation estimate call us at 503-389-5758 or email scheduling@lightmenpainting.com
Shout Out:
Celebrating Euro-Men Painting: Your Go-To for Quality and Reliability
From the team at Lightmen Painting, we extend our highest praise to Euro-Men Painting for their commitment to providing efficient and reliable painting services. Just as we strive for excellence and meticulous craftsmanship, Euro-Men Painting delivers guaranteed quality at affordable prices, meeting all your painting needs with professionalism and care. Their dedication to superior service and customer satisfaction aligns perfectly with our mission to enhance and beautify environments.
Thanks for stopping by Lightmen Daily! Stay tuned for more practical tips and expert advice on making your painting projects flawless, from wall to floor!
Definitions
- Glossy Surfaces: Surfaces with a high sheen or glossy finish that are smooth and reflective, often challenging to paint over due to their slick nature.
- Bonding Primer: A type of primer designed to adhere well to difficult surfaces, providing a grip for the paint and enhancing durability.
- Surface Tension: A physical characteristic of a surface that affects how well liquids, such as paint, adhere to it.
- Peeling: The process where paint lifts or separates from the surface, often due to poor adhesion, moisture, or improper application.
- Chipping: Small pieces of dried paint that break away from the surface, typically due to impact or poor adhesion.
- Sandpaper Grit: The measure of the coarseness of sandpaper, with lower numbers indicating coarser grit for heavier sanding and higher numbers for finer, more detailed work.
- Deglosser: A chemical solution used to dull a glossy finish, improving the adhesion of subsequent layers of paint.
- Acrylic Paint: A type of paint made with acrylic resins, known for its durability and ability to resist weathering, commonly used on exterior surfaces.
- Latex Paint: Water-based paint that is easy to clean and apply, suitable for a variety of surfaces including glossy finishes when properly prepared.
- UV Protection: The ability of a paint or coating to resist degradation from ultraviolet light exposure, important for exterior applications to prevent fading and deterioration.
Lightmen Painting Serving: Portland, Tigard, Lake Oswego, Tualatin, West Linn, Milwaukie, Sherwood, Happy Valley, Oregon City, Beaverton, Hillsboro, Gresham -Trade Partners-