How Long Does Paint Take to Dry Outside? Does Humidity Really Matter?
Key Highlights
- Understanding Environmental Factors: Detailed discussion on how temperature, humidity, and wind influence paint drying times.
- Choosing the Right Paint: Tips on selecting latex or oil-based paints based on drying time needs.
- Practical Tips for Faster Drying: Advice on timing, application techniques, and surface preparation to optimize drying times.
- Common Pitfalls: Identification of common mistakes, like ignoring weather conditions or applying thick coats, that can hinder drying and compromise the finish.
How Long Does Paint Take to Dry Outside? Does Humidity Really Matter?
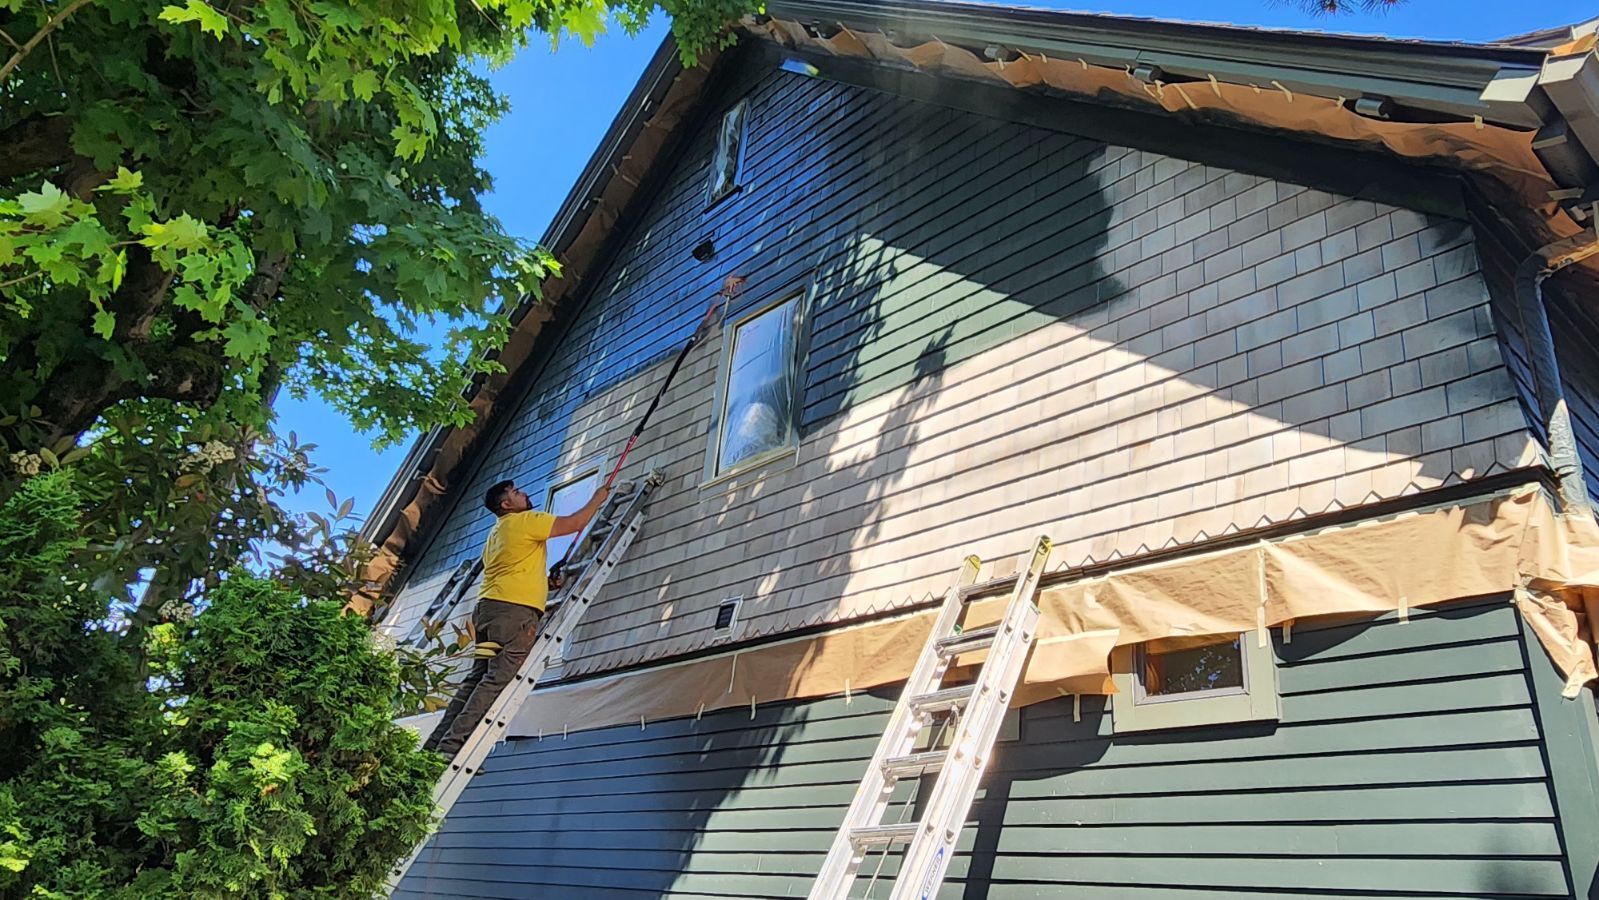
When it comes to painting the exterior of a home, understanding how long paint takes to dry outside is crucial. I’ve seen projects get unexpectedly delayed or, worse, require a complete redo simply because of unforeseen drying issues. The factors affecting paint drying time outdoors are many, and humidity often gets overlooked despite its significant impact.
Factors That Affect Paint Drying Time Outdoors
Temperature
Ideal Temperature Range
The ideal temperature for painting exteriors falls between 50°F and 85°F. This range provides a perfect balance where paint can adhere properly and cure without any issues. If the temperature is too low, below 50°F, paint may not dry at all, leaving a tacky, uneven finish that’s prone to damage. On the other hand, if you paint when it’s over 85°F, especially under direct sunlight, you risk the paint drying too quickly on the surface while the underlying layers remain wet. This can lead to bubbling, blistering, or cracking over time, none of which are good looks for your exterior.
Effects of Extreme Temperatures
Extreme temperatures are a painter's worst enemy. I’ve witnessed firsthand how a drop in temperature at night can affect an otherwise perfect paint job done in the afternoon. If the temperature dips too low, the paint can become brittle and prone to cracking. Conversely, painting in the sweltering midday heat can cause the paint to dry before it properly settles, resulting in an uneven, patchy finish. Always aim for mild, stable temperatures to ensure the paint adheres well and lasts longer.
Humidity Levels
How Humidity Impacts Drying
Humidity is another critical factor when it comes to drying times. Paint drying is essentially a process of evaporation. When humidity levels are high, there’s more moisture in the air, which slows down the evaporation rate of the water or solvents in the paint. Imagine painting on a humid day—your paint could remain tacky for hours or even days, making it more susceptible to dirt, dust, or insect damage. In one project, I learned the hard way that even a seemingly dry surface could feel sticky due to high humidity.
Optimal Humidity for Painting
The ideal humidity level for painting is typically below 70%. Lower humidity ensures that the paint dries at an optimal rate, adhering properly to the surface and forming a durable bond. So, if you’re planning an exterior painting project, keep a close eye on the humidity levels. If it's been raining or you live in a particularly humid area, you might want to wait for a day when the humidity is lower. It's worth the wait to avoid the risk of peeling or uneven drying.
Wind and Air Circulation
Wind as a Drying Accelerator
Wind can be both a friend and a foe. A gentle breeze can do wonders by circulating the air around the painted surface, helping the paint dry more evenly. I’ve painted many exteriors where a light wind was like an invisible assistant, speeding up the drying process without compromising quality.
Too Much Wind
However, too much wind can lead to problems. If the wind is too strong, it can cause the paint to dry too quickly on the surface, while the inner layers remain wet. This can lead to cracking, peeling, or blistering. And let’s not forget that wind carries dust and debris, which can stick to the fresh paint, ruining that perfect finish. So, if it’s a particularly windy day, it might be best to wait or find a spot that’s more sheltered from the gusts.
Direct Sunlight
Impact of Sunlight on Drying
Direct sunlight can be a double-edged sword when it comes to drying paint. While sunlight helps speed up the drying process, too much of it can cause the paint to dry unevenly. When paint dries too quickly under the sun, it might look good initially, but over time, you could see peeling or cracking. I’ve learned to be wary of bright, sunny days for painting, especially when the sun is directly overhead.
Best Practices
To avoid these issues, aim to paint during the cooler parts of the day, like the morning or late afternoon. This allows the paint to dry at a steady, even pace without being overly exposed to the harsh effects of direct sunlight. Remember, it’s all about finding that sweet spot where temperature, humidity, and wind conditions align for the best possible outcome.
Things to Know
- Check the Weather Forecast: Always plan your painting projects around the weather, avoiding rain or extreme conditions.
- Mind the Humidity: High humidity can slow down drying times, while low humidity can cause paint to dry too quickly, leading to a rough finish.
- Temperature is Key: Stick to the ideal temperature range (50°F to 85°F) for the best drying results.
- Surface Prep is Crucial: Ensure surfaces are clean, dry, and primed for optimal paint adhesion and even drying.
- Thin Coats Work Best: Apply multiple thin coats instead of one thick layer to promote faster, more even drying.
The Role of Paint Type in Drying Time
When planning an exterior painting project, the type of paint you choose plays a crucial role in how long it will take to dry. Different paints have unique properties that affect their drying time, and understanding these differences can help you make the best choice for your project.
Latex vs. Oil-Based Paints
Latex Paints
Latex paints are water-based, which means they typically dry faster than oil-based alternatives. This quick-drying characteristic makes latex paint an excellent choice for most exterior painting projects, especially when you need to complete the job in a short time frame. The faster drying time is particularly advantageous in areas with lower humidity, where the water in the paint evaporates more quickly. I’ve found that latex paints are perfect for those days when you want to start and finish a project in the same day.
Another benefit of latex paints is their flexibility. They expand and contract with the siding material as the temperature changes, which helps prevent cracking and peeling. This flexibility, combined with their quick-drying nature, makes latex paints a popular choice for many homeowners.
Oil-Based Paints
Oil-based paints, on the other hand, take longer to dry, which can be both a benefit and a drawback depending on the conditions. The slower drying time allows for a smoother, more even finish, particularly on rougher or porous surfaces. This can be a great advantage in cooler or less humid environments, where slower drying isn't much of an issue.
However, in more humid or fluctuating conditions, oil-based paints can become problematic. They may remain tacky for extended periods, attracting dust, debris, or even insects. If you’re working in an area with inconsistent weather, you might want to think twice before opting for oil-based paints.
Fast-Drying Paints
Specialty Paints
For those who need to speed up the painting process, fast-drying exterior paints are an excellent option. These paints are specially formulated to reduce drying time significantly, often drying to the touch in as little as 15-30 minutes. They are particularly useful for quick turnaround projects or when working in unpredictable weather conditions.
When to Use
Fast-drying paints are ideal for projects that need to be completed quickly, such as when you’re racing against an impending rainstorm or when you have a tight project deadline. However, it’s important to remember that while these paints dry faster on the surface, they may still require adequate curing time to achieve full durability and adhesion.
Tips for Optimizing Paint Drying Time Outdoors
Now that we’ve covered the impact of different paint types, let’s explore some practical tips to help you optimize drying times and achieve the best results for your exterior painting project.
Timing Your Project
Weather Forecasting
Before you even think about picking up a brush, check the weather forecast. Aim for days with mild temperatures, low humidity, and no rain in the forecast. You’ll want to avoid painting during extreme weather conditions—both scorching heat and freezing cold can wreak havoc on paint drying times and the final finish.
If I’ve learned anything from years of painting exteriors, it’s that Mother Nature doesn’t always cooperate. But with a little planning, you can work around her moods.
Seasonal Considerations
The best seasons for exterior painting are typically spring and fall when temperatures and humidity are more stable. Summer can work, too, but you’ll need to avoid the hottest parts of the day. A mild, overcast day is perfect—just be sure there’s no rain on the horizon!
Surface Preparation
Importance of Dry Surfaces
Always ensure the surfaces you plan to paint are thoroughly dry before you start. Painting over damp surfaces, whether from rain, dew, or condensation, can lead to bubbling, peeling, and uneven drying. If there’s been recent rain, give it at least 24 hours to dry out, and remember that shaded areas might take longer.
Priming for Success
Using a primer is a game-changer. Not only does it provide a smooth base for the paint to adhere to, but it also can help speed up the drying time by creating a more even surface. Primers designed for exterior use often have quick-drying properties that help minimize waiting time between coats.
Applying Thin Coats
Less is More
When it comes to painting, especially exteriors, less is more. Applying multiple thin coats is far better than slapping on one thick layer. Thin coats dry faster, adhere better, and are less likely to run or drip. Each layer builds upon the last, resulting in a smoother, more professional finish.
Drying Between Coats
Make sure to allow adequate drying time between coats. Even if the surface feels dry to the touch, it may still be tacky underneath. Rushing this step can lead to all sorts of issues, like bubbling or peeling down the line. Take your time—your patience will be rewarded!
Using Proper Equipment
High-Quality Brushes and Rollers
Investing in high-quality brushes and rollers is worth every penny. They help apply the paint evenly and avoid over-application, which can delay drying times. When painting over large areas, consider using rollers with the right nap length for your siding type to achieve an even coat.
Airflow Management
Increasing airflow can significantly reduce drying times, especially in enclosed areas like porches or under eaves. Using fans or setting up temporary windbreaks can improve air circulation and help the paint dry evenly and faster.
In Our Experience:
"Outdoor painting projects require careful consideration of weather conditions, especially when it comes to temperature and humidity. In our experience, the most successful projects occur when painting is done within the recommended temperature range, with surface preparation and proper timing playing critical roles. By planning ahead and being mindful of these factors, you can avoid common pitfalls like slow drying times or poor paint adhesion."
Does Humidity Really Matter?
When it comes to exterior painting, one of the most critical, yet often overlooked, factors is humidity. Many homeowners and DIY enthusiasts might not realize just how much humidity can impact paint drying times and the overall quality of a paint job. Let's dive into the effects of high and low humidity on paint, and what you can do to ensure your project is a success.
High Humidity Challenges
Effects on Paint Adhesion
High humidity can wreak havoc on a paint job, particularly when it comes to paint adhesion. When the air is saturated with moisture, it slows down the evaporation process of the paint, leading to extended drying times. This delay increases the risk of paint failing to adhere properly to the surface. The result? A finish that may look fine initially but will soon start to peel or bubble.
I’ve seen this firsthand on projects where high humidity was ignored—what started as a smooth coat of paint turned into a peeling mess within a few weeks. To avoid this, always check humidity levels before starting your project; ideally, you want it to be below 70% for optimal results.
Moisture Trapped in Paint
Another significant issue with high humidity is the potential for moisture to become trapped underneath the paint layer. This can lead to long-term damage, such as mold growth or paint blistering. Moisture trapped in the paint layer can slowly work its way through to the surface, causing the paint to lift, crack, or peel away. In worst-case scenarios, this trapped moisture can even lead to damage to the underlying structure.
To prevent this, consider painting during a period of low humidity or using paints formulated to be more resistant to moisture. And always ensure that surfaces are completely dry before applying any paint.
Low Humidity Conditions
Fast Drying Risks
While low humidity can help speed up paint drying times, it can also create its own set of challenges. Paint that dries too quickly can result in a rough finish, brush marks, or even cracking. I’ve had projects where a quick-drying paint finish looked great at first but developed small cracks and a rough texture as it cured.
When painting in low humidity, it’s crucial to find the right balance. Too much speed can be just as problematic as too little. Consider using a paint extender or retarder to slow down the drying time slightly, giving you more control over the application and a smoother finish.
Balancing Act
Painting in low humidity requires a bit of a balancing act. Plan to paint during parts of the day when the sun isn’t directly overhead or when the temperatures are moderate to prevent the paint from drying too fast. You might also consider using paint formulated for hot and dry conditions, which is designed to slow down the drying process slightly, allowing for a smoother application.
Common Mistakes to Avoid When Painting Outdoors
Ignoring the Weather Forecast
One of the biggest mistakes you can make when painting outdoors is ignoring the weather forecast. A sudden rain shower or unexpected drop in temperature can ruin your paint job, leaving you with streaks, bubbles, or washed-away paint. Always check the forecast a few days in advance and keep an eye on it leading up to your project.
It’s not just rain that’s the enemy. High winds can blow debris onto your freshly painted surfaces, and sudden drops in temperature can affect how well the paint adheres and dries. The bottom line? A little planning goes a long way.
Painting in High Humidity
As mentioned earlier, painting in high humidity can lead to extended drying times and a poor-quality finish. It’s tempting to get started on a project when you have the time, but sometimes waiting for the right weather conditions is worth it. High humidity can cause paint to remain tacky for longer, which attracts dirt and debris and can lead to a less-than-smooth finish.
If you’re stuck in a humid climate, consider painting during the driest part of the day or using a dehumidifier in enclosed spaces. It might seem like an extra hassle, but your paint job will thank you.
Skipping Surface Prep
Proper preparation is critical to the success of any painting project, and this is especially true when painting outdoors. Skipping the crucial steps of cleaning, drying, and sanding can lead to a myriad of problems, from poor paint adhesion to rapid peeling and bubbling.
I’ve seen this mistake too many times—rushed jobs where surfaces weren't properly cleaned or dried have to be redone far sooner than necessary. Always take the time to prep your surfaces thoroughly. Clean them with a degreaser, let them dry completely, and sand as needed to create a smooth base for the paint to adhere to.
Final Thoughts on Outdoor Paint Drying Times
When it comes to exterior painting, understanding the impact of humidity, temperature, and proper preparation is key to achieving the best results. By paying attention to these factors, you can avoid common pitfalls like poor adhesion, peeling, and uneven finishes.
Remember, patience and preparation are your best tools. Take the time to plan your project around the weather conditions, choose the right paint, and prep your surfaces correctly. Your efforts will be rewarded with a beautiful, long-lasting finish that enhances your home's curb appeal and protects it from the elements.
So, don’t rush—embrace the process, and you’ll enjoy a flawless paint job that stands the test of time. Happy painting!
Want to Learn How to Paint Like a Pro?
Whether you're a DIY enthusiast or dreaming of starting your own painting business, we've got you covered! Lightmen Painting now offers exclusive online Painting Courses designed to teach you real-world skills from real professionals. From prep work to perfect brush technique, we break it all down step-by-step.
👉 Check out the courses here: Painter Courses
Take the first step—level up your skills and paint with confidence. Let’s roll!
Do You Have Questions? Give Us A Call With Any & All! 503-389-5758
-
People Also Ask:
How long does paint take to dry outside?
Paint drying times outside can vary widely based on factors like temperature, humidity, and wind. Typically, latex paint takes 4-6 hours to dry, while oil-based paints may take 24 hours or more.
Does humidity affect paint drying time?
Yes, humidity significantly impacts paint drying times. High humidity slows down evaporation, leading to longer drying periods, while low humidity can cause paint to dry too quickly, potentially resulting in a rough finish.
What is the best time of day to paint outdoors?
The best times to paint outdoors are usually in the morning or late afternoon when temperatures are moderate, and the sun isn’t too harsh. This helps ensure even drying and reduces the risk of peeling or blistering.
-
If your in the Portland, Or. area and need advice or a free no obligation estimate call us at 503-389-5758 or email scheduling@lightmenpainting.com
Thanks for stopping by Lightmen Daily! Stay tuned for more practical tips and expert advice on making your painting projects flawless, from wall to floor!
Definitions
- Exterior Paint: Paint specifically formulated for outdoor use, designed to withstand weather elements like rain, wind, and UV rays.
- Latex Paint: A water-based paint known for its quick drying time and flexibility, making it suitable for various exterior surfaces.
- Oil-Based Paint: Paint that uses oil as its base, offering durability and a glossy finish but with longer drying times compared to latex paint.
- Humidity: The amount of moisture in the air, which can affect how quickly or slowly paint dries.
- Temperature Range: The ideal range of ambient temperatures that allows paint to dry properly without issues like blistering or cracking.
- Surface Preparation: The process of cleaning, sanding, and priming a surface before painting to ensure proper adhesion and a smooth finish.
- Drying Time: The period it takes for paint to become dry to the touch, which can be influenced by weather conditions and paint type.
- Priming: The application of a preparatory coating on a surface before painting, which helps paint adhere better and enhances durability.
- Wind and Air Circulation: Natural or artificial movement of air that can accelerate or hinder paint drying, depending on intensity and direction.
- Direct Sunlight: Exposure to sunlight, which can cause paint to dry unevenly or too quickly, leading to defects like peeling or cracking.
Lightmen Painting Serving: Portland, Tigard, Lake Oswego, Tualatin, West Linn, Milwaukie, Sherwood, Happy Valley, Oregon City, Beaverton, Hillsboro, Gresham