The Foundation of Flawless Cabinets: Cleaning and Sanding Essentials
Key Features:
- Importance of Proper Preparation:
- Preparation is foundational, setting the stage for a durable and aesthetically pleasing finish. It ensures paint adhesion, preventing issues like chipping and peeling.
- Cleaning and Sanding:
- Cleaning: Removes grease, dust, and contaminants, providing a clean surface for the paint to adhere properly. It involves using degreasers or mild detergent solutions and tackling tough stains and grease for a thorough clean.
- Sanding: Creates a smooth surface and helps the paint grip, starting with medium-grit sandpaper and progressing to finer grits. This step evens out imperfections and follows the wood grain to enhance the finish.
- Expertise and Precision in Execution:
- Lightmen Painting emphasizes skilled craftsmanship in each step, from selecting the right sandpaper to employing effective sanding techniques. Addressing dents and scratches with wood filler and managing dust and debris are part of their meticulous approach to achieving a flawless finish.
The process of cabinet refinishing by Lightmen Painting not only revitalizes the appearance but also ensures the longevity of the cabinetry, making it a pivotal aspect of home improvement and decoration.
Cabinet Refinishing
Hello, DIY enthusiasts and savvy home improvers! Welcome back to Lightmen Daily, where today we delve into the crucial, albeit often underrated, art of prepping your cabinets for a fresh new look. As seasoned pros at Lightmen Painting, we can't stress enough how vital the prep stage is, especially when it comes to cabinets. Whether you're eyeing a sleek modern finish or a cozy, rustic vibe, it all starts with proper cleaning and sanding. Let's walk through these steps together and set the stage for a cabinet transformation that's nothing short of spectacular.
"I make old new and rough smooth. What am I?"
Answer below
The Importance of Prepping Cabinets
Why Prep Matters
Prepping cabinets before painting them is crucial, akin to the essential step of starting with a clean slate in any project. It's like setting the stage for a masterpiece; without proper preparation, the end result is compromised. Painting over cabinets without prepping can lead to poor paint adhesion, resulting in a finish that may chip, peel, or wear prematurely. The essence of preparation is to ensure that the paint has a clean, smooth surface to cling to, which not only enhances the aesthetic quality of the finish but also its durability. Think of it as the foundation of your painting project: just as a strong foundation supports a building, thorough prep work supports a lasting paint job.
The Dual Power of Cleaning and Sanding
The combination of cleaning and sanding is pivotal in the preparation process. Cleaning eradicates layers of kitchen detritus like grease, dust, and unseen contaminants, which can impede paint adhesion. Sanding, on the other hand, scuffs up the surface, providing "tooth" for the paint to grip onto. It also helps to even out any imperfections, ensuring a smooth and uniform finish. This preparatory phase is not just about cleanliness; it’s about optimizing the surface for painting, ensuring that the new finish will be both beautiful and enduring.
In Our Experience:
"Prepping cabinets for refinishing is a critical step that we prioritize to ensure a high-quality finish. Through our years of experience, we've learned that a successful cabinet transformation begins with meticulous cleaning and sanding. This process not only clears away grime and smooths out imperfections but also sets the foundation for clear coats or paint adhesion, impacting both the visual appeal and longevity of the finish. Our approach involves deep cleaning to remove kitchen buildup, using the right sandpaper grit to create a smooth surface, and we address any dents and scratches with spackle and/or bondo. We've learned that by focusing on these essential prep steps, we can ensure that our cabinet refinishing projects achieve a sleek, durable, and visually stunning result, every time. This is our commitment to craftsmanship and quality. "
Step-by-Step Guide to Cleaning Your Cabinets
Start with a Deep Clean
Embarking on a cabinet painting project begins with a thorough cleaning, a process that can dramatically transform and revitalize the appearance of your kitchen. Utilizing a degreaser or a solution of warm water and mild detergent is key to stripping away years of cooking residue and buildup. Personal experience has shown that even cabinets that seem hopelessly encrusted with grime can be restored to their former glory. This initial deep clean is not merely about aesthetics; it's about preparing the surface to ensure that the new paint adheres properly and performs well over time.
Tackling Tough Stains and Grease
Addressing stubborn stains and grease is a crucial next step in the cabinet prep process. Areas around stove tops and handles, where hands often touch, can accumulate a surprising amount of buildup. For these challenging spots, stronger cleaning agents specifically designed to break down grease may be necessary. However, it's important to use such chemicals cautiously and to follow up with a rinse or neutralize to prevent any residue from affecting the paint’s adherence. This meticulous cleaning effort lays the groundwork for a painting job that looks professional and lasts, ensuring that the new finish remains pristine and durable.
For those stubborn spots that seem impervious to regular cleaning, turning to baking soda or a specialized cleaning solution can be incredibly effective. Baking soda, with its mild abrasive nature, can lift off tough grime without harming the underlying surface. For industrial-strength messes, a commercial-grade cleaner designed to cut through grease and buildup can be your best ally. However, it's crucial to approach this task with care; the objective is to cleanse the cabinet surfaces thoroughly without causing any damage. Gentle scrubbing motions are paramount to preserve the integrity of the wood or finish, setting the stage for a successful refinishing project.
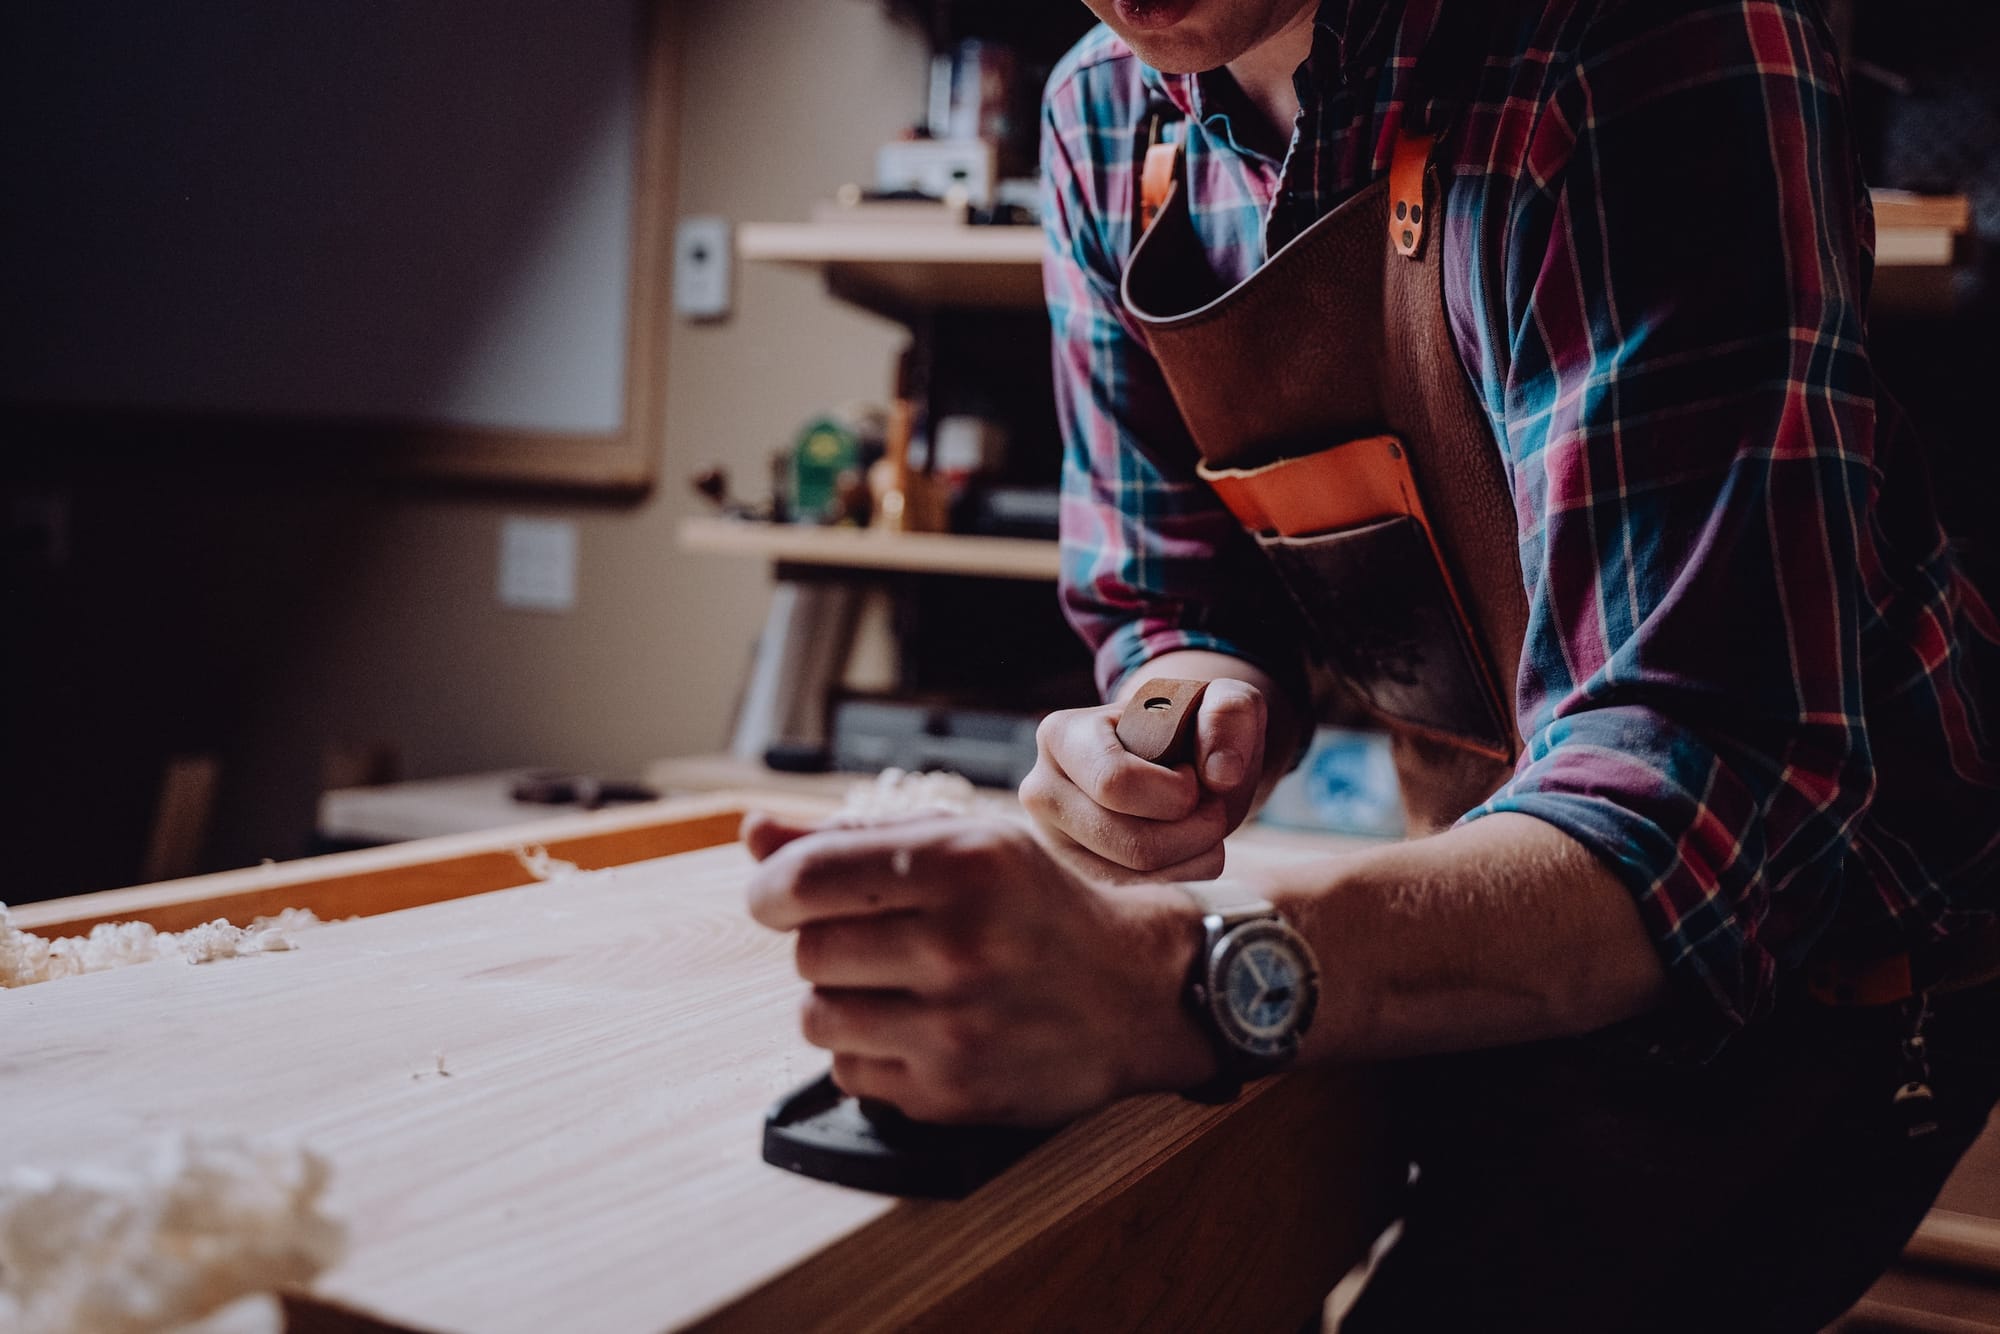
Sanding Your Way to Smoothness

Choosing the Right Sandpaper
Selecting the appropriate sandpaper is a fundamental step in the sanding process. It's advisable to initiate the task with medium-grit sandpaper, which efficiently removes the old finish and any surface imperfections. Progressing to finer grits then allows for refining the surface, achieving a smoothness that's ideal for the new finish to adhere to. This progression in sandpaper grit is akin to sculpting; you start with the rough shaping and gradually move to fine detailing, ensuring a flawless base for your painting or staining endeavor.
The Sanding Technique
Sanding should be approached as an art form that requires precision and patience. Employing even, circular motions helps evenly abrade the surface without gouging or creating uneven areas. It's essential to exert light pressure to avoid damaging the wood. Moreover, adhering to the direction of the wood grain is a cardinal rule in sanding; it ensures that any scratches made by the sandpaper will blend seamlessly with the natural lines of the wood, thus maintaining the aesthetic integrity of the cabinets. This meticulous approach to sanding paves the way for a superior finish, where the new stain or paint can showcase its full beauty and durability.
"I told my cabinets we were going sanding. They replied, 'Wood you please be gentle?'"
Addressing Common Challenges
Dealing with Dents and Scratches
Cabinets bear the brunt of daily use, accumulating dents and scratches that mar their surface. Treating these imperfections is crucial for achieving a flawless finish. Using wood filler, akin to sculpting with putty, allows you to fill these blemishes effectively. The filler adheres to the wood, providing a smooth, repairable surface that, once sanded, seamlessly integrates with the surrounding area. This meticulous attention to detail ensures that the final paint or stain application is pristine, free of the visual interruptions that dents and scratches can cause.
Managing Dust and Debris
Sanding, an essential step in cabinet preparation, inevitably generates dust and debris. Managing this residue is vital for both the aesthetics and the health of your workspace. Employing a vacuum or tack cloth can be likened to an archaeological dig, where removing the old, obscured layers uncovers the true surface beneath. This not only ensures a cleaner environment but also prepares the surface to receive the new finish without the risk of contamination or uneven application.
The Lightmen Painting Advantage
Expertise and Precision
Lightmen Painting stands out in the industry, blending expertise and precision in every cabinet refinishing project. Our seasoned professionals possess an intimate understanding of the necessary prep work, from cleaning and sanding to filling and priming, ensuring that each step is executed flawlessly. This commitment to excellence guarantees that the final product is not merely a painted surface but a testament to skilled craftsmanship.
Tailored Solutions for Every Cabinet
Understanding that each cabinet has its own narrative and aesthetic, Lightmen Painting offers customized solutions that honor the individuality of your space. We consider the historical context, architectural style, and your personal preferences to deliver a service that does more than refurbish; it revitalizes and personalizes, transforming ordinary cabinets into extraordinary focal points of your home.
The journey of prepping cabinets is an essential path to achieving a finish that is both stunning and enduring. Armed with the guidance from Lightmen Painting, you are now equipped to elevate your cabinets from mere storage units to captivating elements of your home décor. With the right tools, techniques, and a touch of Lightmen Painting’s expertise, your journey to cabinet perfection is not just a possibility; it’s a promise. So, let’s embark on this transformative journey, where every stroke of sandpaper and paintbrush leads to excellence.
Do You Have Questions? Give Us A Call With Any & All! 503-389-5758
-
People Also Ask:
Why is proper preparation crucial for cabinet refinishing?
Proper preparation, including thorough cleaning and meticulous sanding, is crucial for cabinet refinishing as it ensures the new finish adheres correctly and lasts longer. It prevents issues like peeling or chipping of the paint and contributes to the overall durability and aesthetic quality of the refinishing project.
What are the key steps in preparing cabinets for refinishing?
The key steps in preparing cabinets for refinishing include deep cleaning to remove grease and grime, sanding to create a smooth surface for the paint to adhere to, and addressing any imperfections such as dents and scratches with wood filler. These steps form the foundation for a successful refinishing project, ensuring the final product looks professional and lasts.
How can Lightmen Painting help in achieving the best results for cabinet refinishing?
Lightmen Painting helps achieve the best results for cabinet refinishing by leveraging their expertise and precision in every step of the process. They provide tailored solutions based on the cabinet's condition and the homeowner's style preferences, using high-quality materials and advanced techniques to ensure a flawless and durable finish.
-
SUBSCRIBE TO OUR BLOG: Stay informed with the latest in Painting and DIY projects by subscribing to Lightmen Painting. Get insights, tips, and more delivered straight to your inbox. We would also love to know what you would like to read about, leave thoughts on where we should go next. Interests, Topics, Ideas, all are welcome.

If your in the Portland, Or. area and need advice or a free no obligation estimate call us at 503-389-5758 or email scheduling@lightmenpainting.com
Thanks for joining us at Lightmen Daily. Stay tuned for more insights and practical tips to make your home painting and renovation projects a resounding success!
Lightmen Painting Serving: Portland, Tigard, Lake Oswego, Tualatin, West Linn, Milwaukie, Sherwood, Happy Valley, Oregon City, Beaverton, Hillsboro, Gresham