
How to Remove Stubborn Wallpaper
Key Highlights:
- Essential tools and materials are critical for effective wallpaper removal, including scoring tools, scrapers, and steamers.
- Proper preparation, including protecting floors and outlets, is key to preventing damage during wallpaper removal.
- Applying the right removal solution and carefully scraping the wallpaper helps avoid wall damage and makes the process smoother.
- Consider using removable wallpaper or hiring professionals like Lightmen Painting to avoid future removal difficulties.
The Challenge of Removing Stubborn Wallpaper
If you've ever tried to remove stubborn wallpaper, you know it can be one of the most frustrating DIY tasks out there. I’ve seen homeowners start with high hopes, only to find themselves knee-deep in peeling paper and sticky residue, questioning why they didn’t just paint over it in the first place. The truth is, wallpaper removal can be a beast—especially when you’re dealing with older homes or poorly applied paper. But with the right approach, you can tame that beast. Let’s talk about why some wallpaper is more challenging to remove and how to tackle it effectively.
I remember one project where a client had inherited a home with wallpaper that had been up for decades. The paper had layers—literally—and it had been applied with an adhesive that seemed more suited for industrial use than residential. It took some serious effort, but with the right tools and techniques, we were able to strip it all away and reveal the beautiful walls beneath. That’s the kind of challenge we thrive on at Lightmen Painting, and it’s why we take wallpaper removal seriously.
Understanding the Basics of Wallpaper Removal
Why Some Wallpapers Are Harder to Remove
So, why are some wallpapers so much harder to remove than others? The answer lies in a few key factors: the type of wallpaper, the adhesive used, the age of the wallpaper, and how it was applied in the first place.
Multiple Layers: In many older homes, it’s not uncommon to find multiple layers of wallpaper stacked on top of each other. Each layer adds to the difficulty because you’re not just dealing with one sheet of paper, but several, each potentially with its own adhesive. The more layers you have, the more effort it takes to remove them all cleanly.
Type of Adhesive: The adhesive used can also play a big role. Some wallpapers were applied with high-strength adhesives that are designed to last for decades—great for durability, but a nightmare when it comes time to remove them. Older adhesives can also become harder over time, making them even more difficult to dissolve and scrape away.
Age of the Wallpaper: Age is another factor. As wallpaper ages, it can become brittle, making it prone to tearing when you try to remove it. This means you end up peeling it off in tiny strips instead of large sheets, which can significantly increase the time and effort required.
Improper Application: Finally, improper initial application can make removal a real pain. If the walls weren’t properly primed before the wallpaper was applied, the adhesive might have bonded directly with the drywall or plaster. This can lead to chunks of wall coming off with the wallpaper, leaving you with more repair work once the paper is gone.
At Lightmen Painting, we’ve encountered all these scenarios and more. Each one requires a tailored approach to ensure the wallpaper comes off cleanly without damaging the underlying surface. Understanding these factors helps us plan the best strategy for each job, which is why we consistently achieve great results.
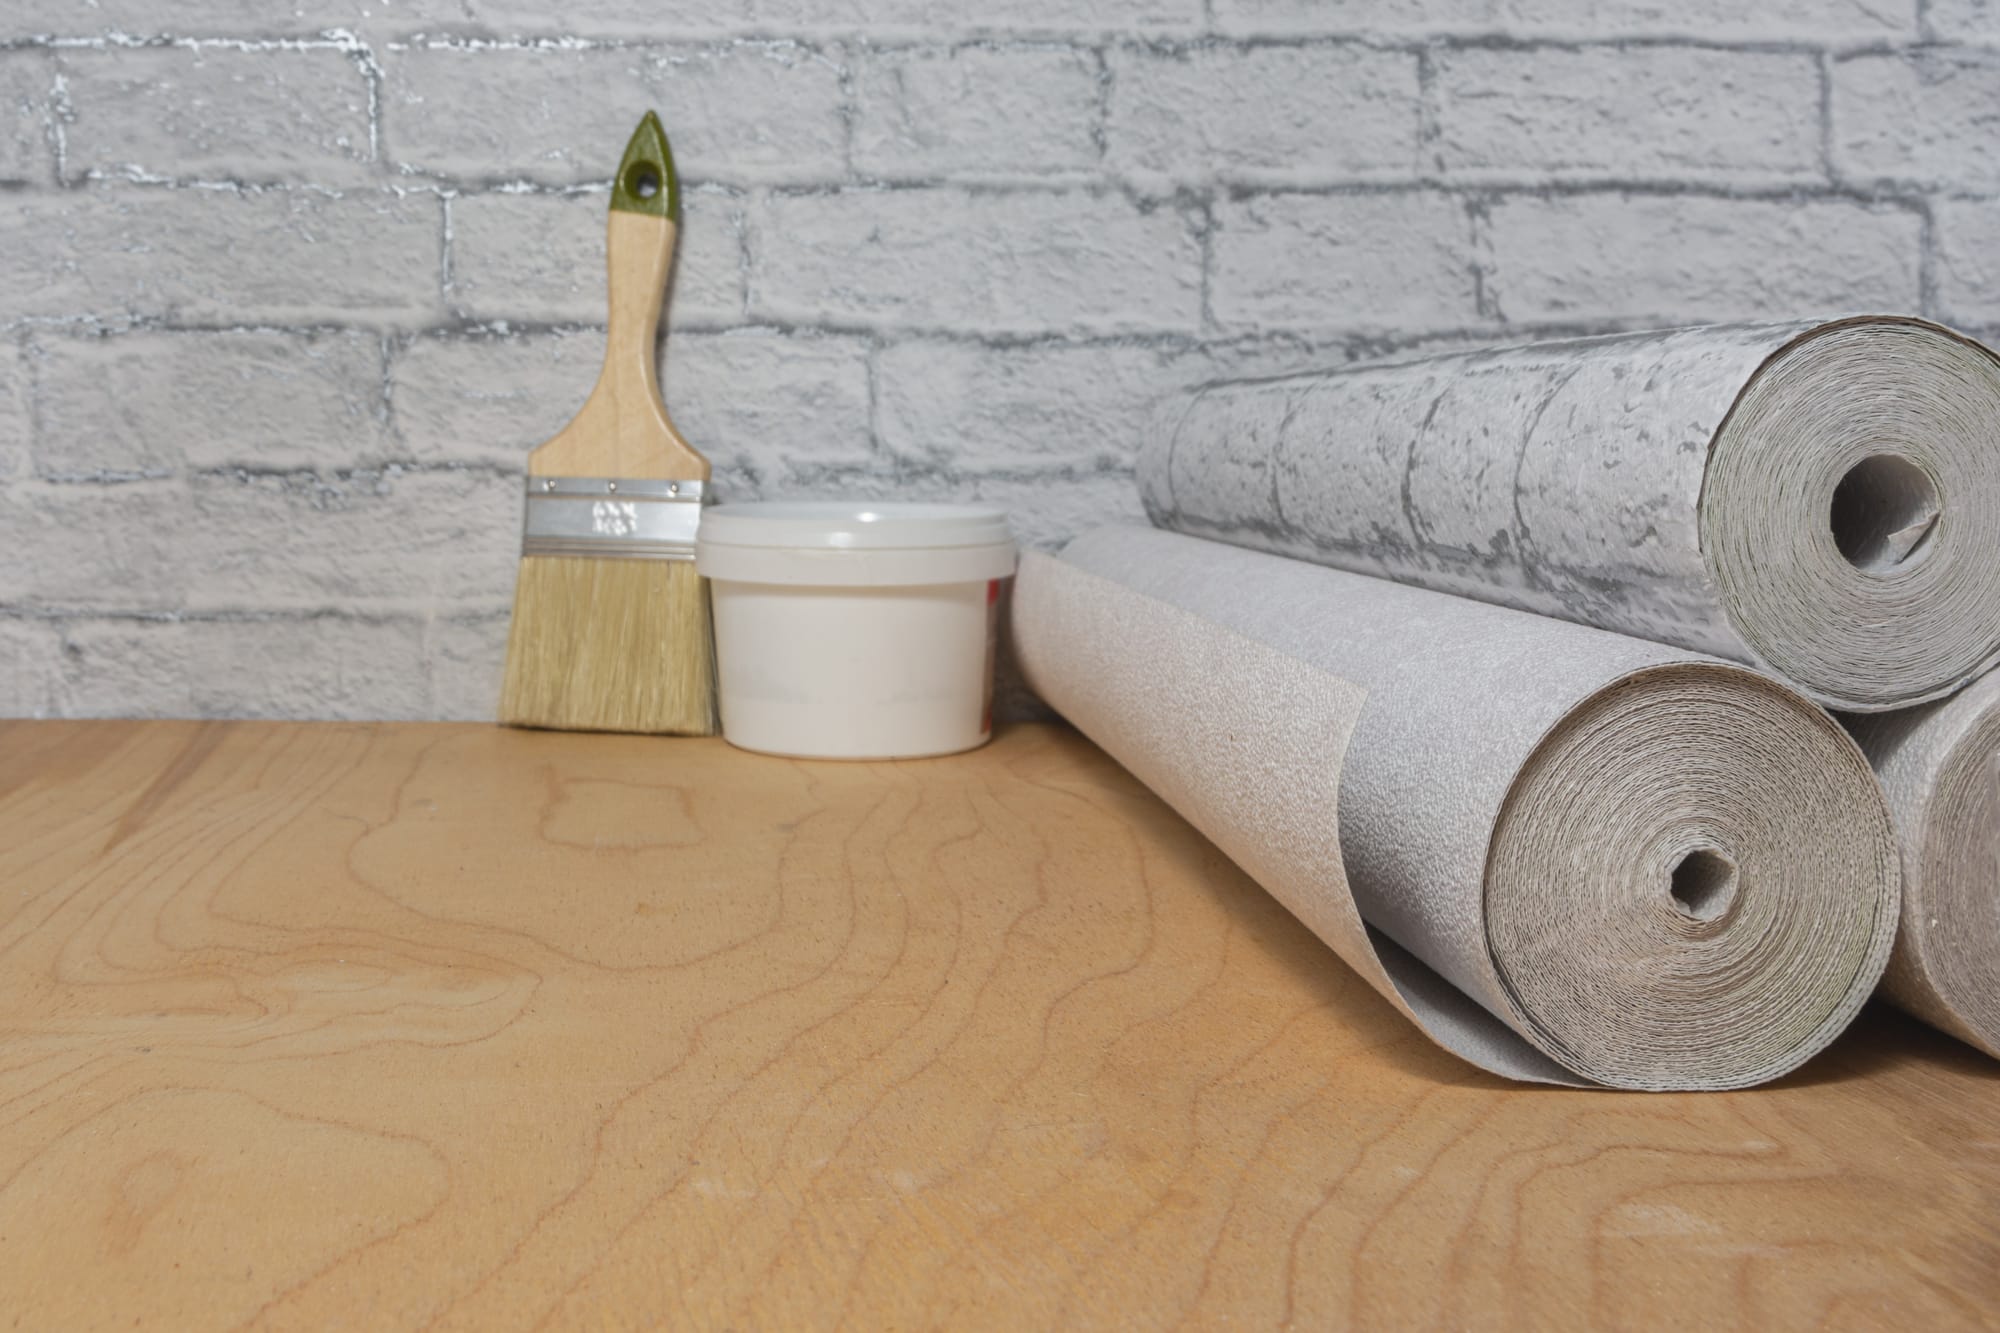
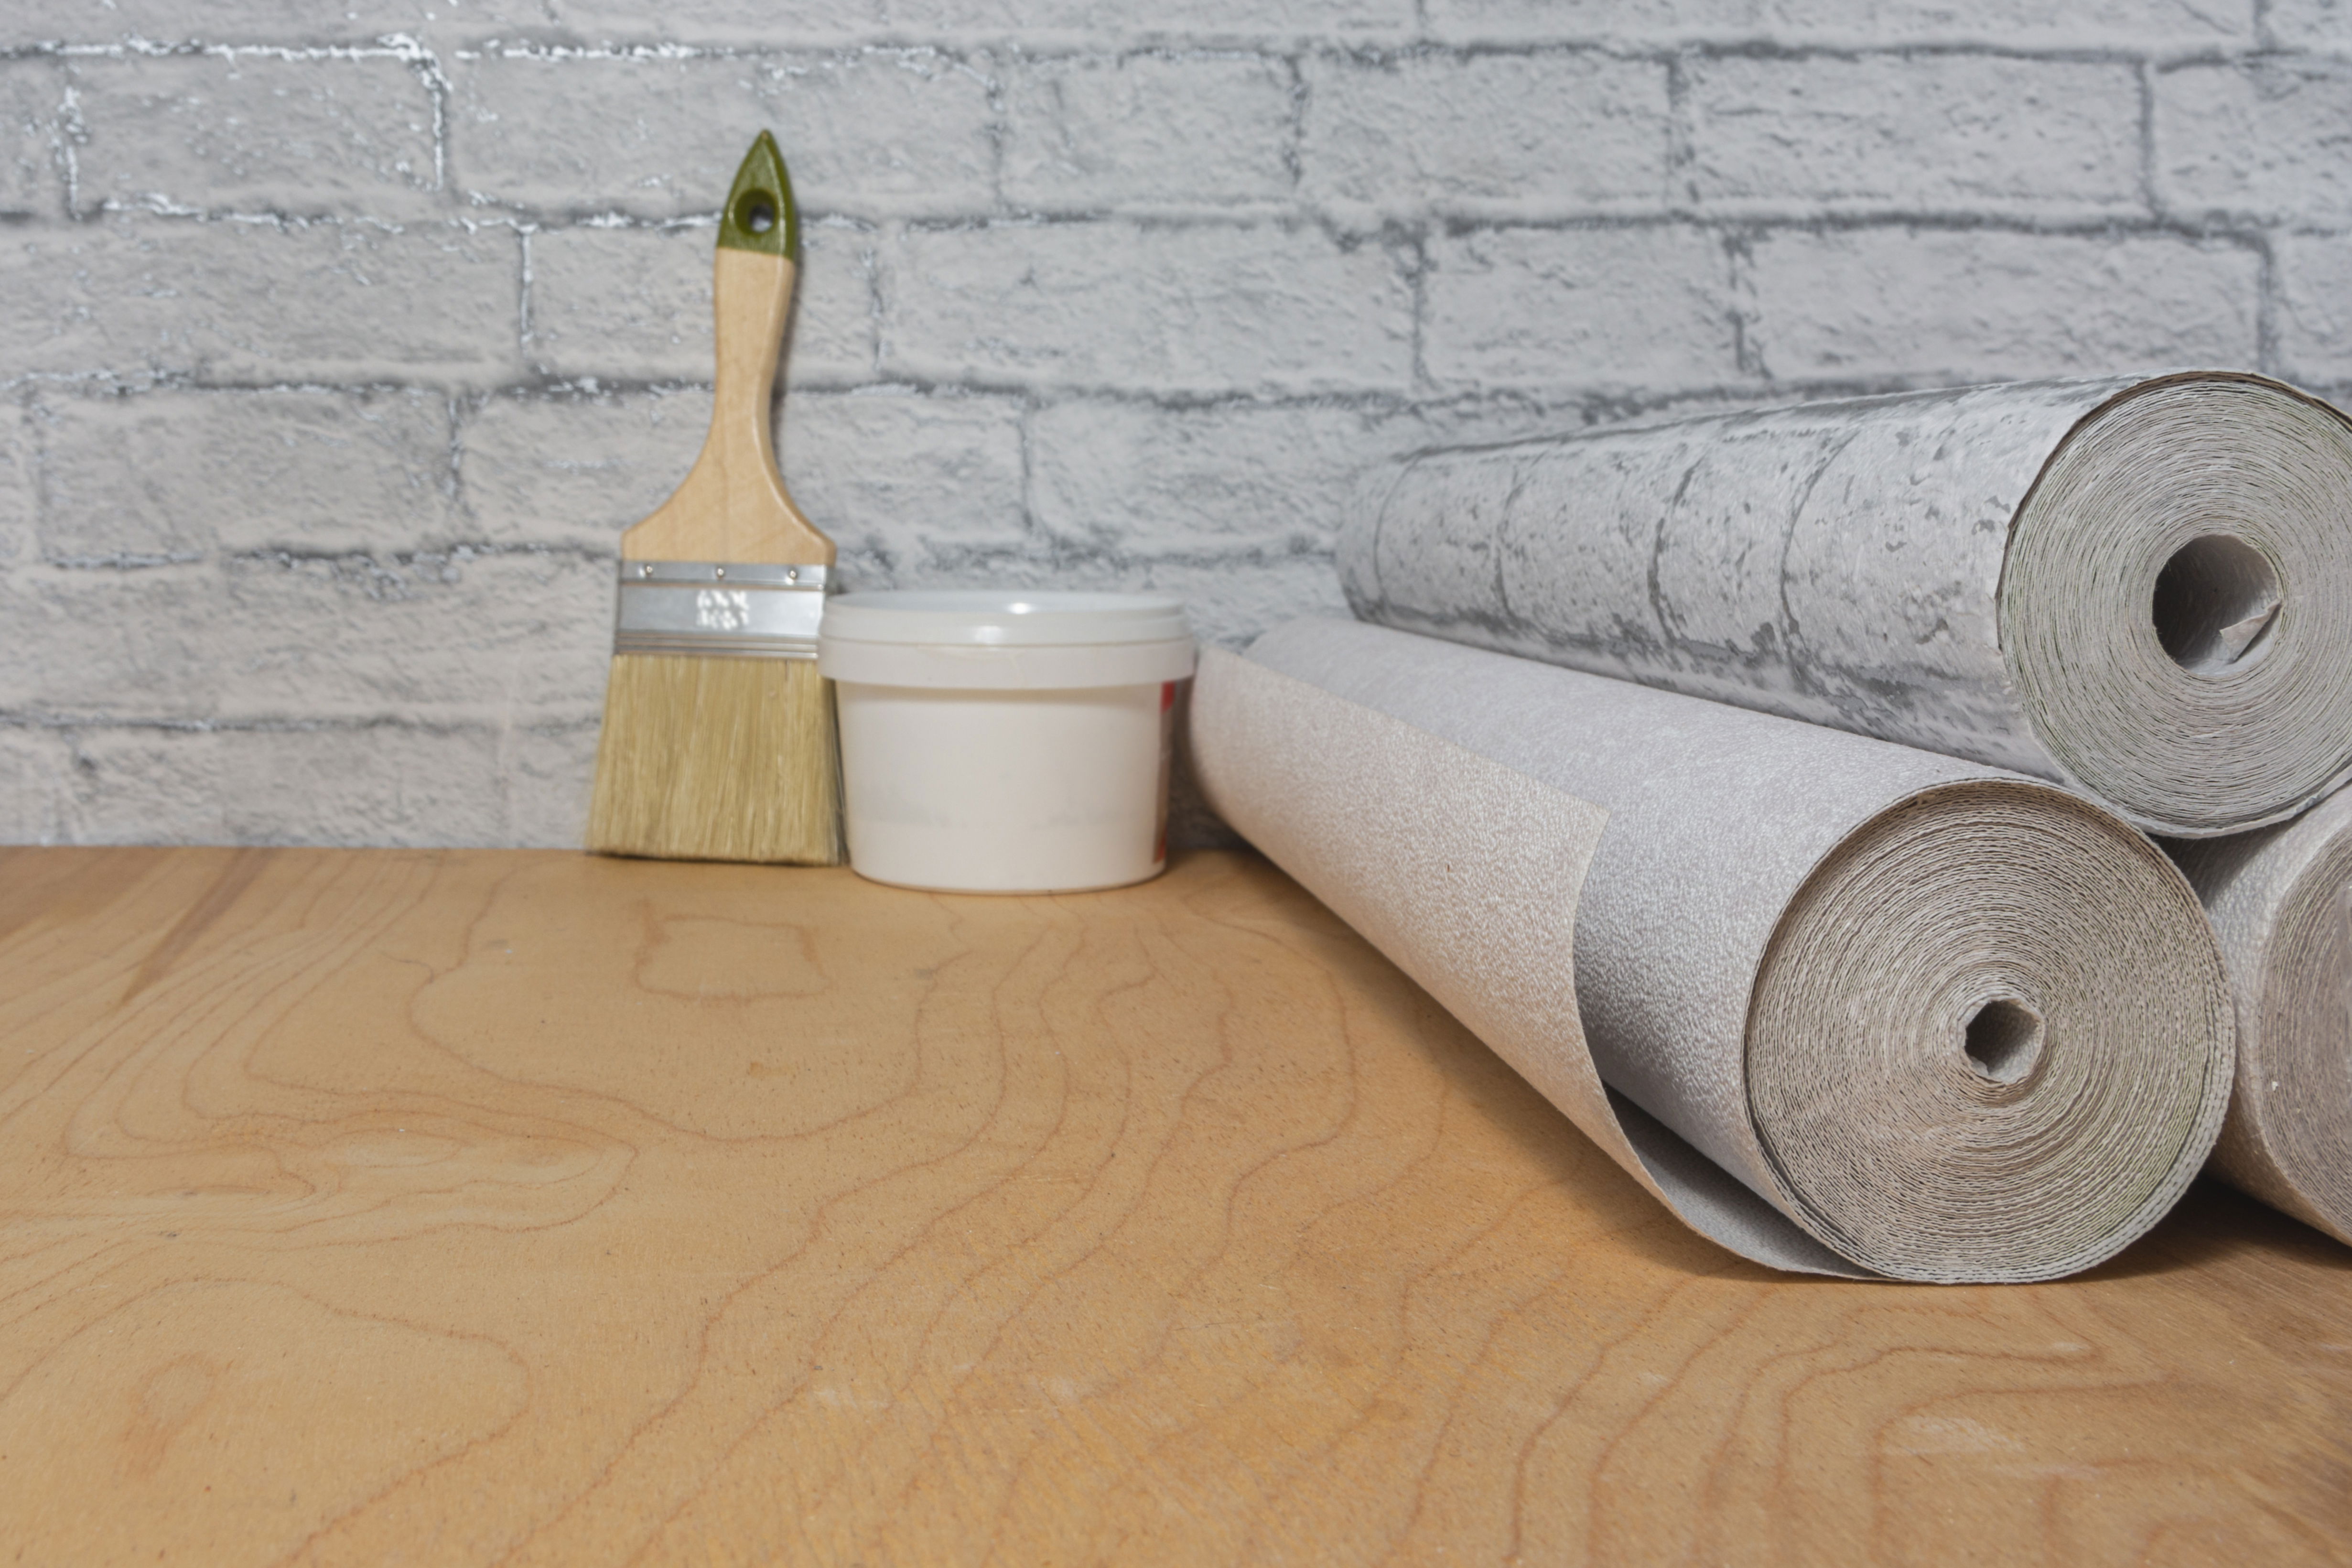
Tools and Materials You’ll Need
To tackle tough wallpaper removal jobs, having the right tools on hand is essential. Here’s a list of the basics you’ll need, whether you’re going the DIY route or preparing for professionals to handle it.
Scoring Tools: A scoring tool is used to perforate the wallpaper, allowing moisture to penetrate the adhesive beneath. This is especially useful for wallpaper that has a water-resistant surface. By creating small holes in the paper, you make it easier for water or steam to reach the adhesive, softening it for easier removal.
Scrapers: Once the adhesive is softened, you’ll need a good scraper to peel the wallpaper away from the wall. A wide-blade scraper is ideal for covering more area quickly, but a smaller, more precise scraper is helpful for corners and edges. At Lightmen Painting, we use professional-grade scrapers that are designed to minimize damage to the underlying wall.
Sponges: Sponges are essential for applying water or wallpaper removal solution to the walls. A large, absorbent sponge can hold enough liquid to keep the wall wet as you work, helping to loosen the adhesive and make scraping easier.
Steamers: For particularly stubborn wallpaper, a steamer can be a lifesaver. Steamers work by applying heat and moisture directly to the wallpaper, softening the adhesive quickly and thoroughly. This method is especially effective for older, more brittle wallpapers or those with particularly strong adhesives. At Lightmen Painting, we often use commercial-grade steamers that are powerful enough to handle the toughest jobs efficiently.
Wallpaper Removal Solution: Sometimes, plain water just isn’t enough. In these cases, a wallpaper removal solution can help to break down the adhesive more effectively. These solutions are typically applied with a spray bottle or sponge and allowed to soak in before you begin scraping. There are various types on the market, and choosing the right one depends on the specific type of wallpaper and adhesive you’re dealing with.
Things to Know
- Professional Help: For extremely stubborn wallpaper or large projects, consider hiring professionals like Lightmen Painting to ensure the job is done efficiently and effectively.
- Preparation is Key: Properly preparing the area and the wall surface before beginning the removal process can prevent damage and make the task significantly easier.
- Follow Through: After removing the wallpaper, it’s crucial to clean the walls of any residual adhesive and prime them for painting or new wallpaper to ensure the best results.
Step-by-Step Guide to Removing Stubborn Wallpaper
Removing wallpaper can feel like an epic battle, especially when it refuses to budge. But fear not—with the right preparation, tools, and techniques, you can conquer even the most stubborn wallpaper. Here’s a step-by-step guide that will make the process as smooth as possible. Trust me, after handling more wallpaper removal projects than I can count, I’ve learned a thing or two about making this job easier. Let’s dive in.
Preparation Before You Begin
Before you even think about peeling that first strip of wallpaper, preparation is key. It might seem tempting to jump right in, but setting up your space properly can save you a lot of headaches down the road. I always tell my clients that the first rule of wallpaper removal is to protect everything that isn’t getting stripped.
Start by covering the floors with drop cloths or plastic sheeting to catch any stray pieces of wallpaper and water. You don’t want your removal process to create a bigger mess than the wallpaper itself. Next, remove or cover any furniture in the room. Wallpaper removal can get messy, and it’s much easier to work in an uncluttered space.
Now, let’s talk about protecting electrical outlets and light switches. These can be particularly vulnerable during the removal process. Turn off the power to the room, then cover the outlets and switches with painter’s tape or plastic to prevent water damage. Proper ventilation is also essential, especially if you’re using a commercial wallpaper remover or a DIY solution that involves chemicals. Open the windows, and if you have a fan, use it to keep the air circulating.
Scoring the Wallpaper
Once your room is prepped, it’s time to get to work on the wallpaper itself. The first step in loosening up that stubborn paper is scoring it. Scoring involves using a special tool to create small perforations in the wallpaper, allowing your removal solution to penetrate and soften the adhesive underneath.
When scoring, you’ll want to be careful not to overdo it. Press lightly—just enough to create those tiny holes without damaging the wall beneath. I’ve seen more than a few DIYers get too aggressive with the scoring tool, only to end up with gouges in the drywall that need to be repaired later. Light, consistent pressure is all you need.
Applying the Removal Solution
With the wallpaper scored, it’s time to bring out the removal solution. There are plenty of commercial options available, but if you’re looking for a DIY approach, a mixture of warm water and fabric softener or vinegar works wonders. The key is to saturate the wallpaper thoroughly, allowing the solution to soak in and break down the adhesive.
Use a spray bottle or sponge to apply the solution generously. I usually let it sit for about 15 minutes, giving it time to work its magic. For particularly stubborn wallpaper, consider using a steamer. A steamer can be a game-changer, especially for thick, old, or heavily glued paper. It softens the adhesive, making it much easier to scrape off.
Scraping Off the Wallpaper
Now comes the most satisfying part—scraping off the wallpaper. Start at a corner or seam and gently work your way down with a wide putty knife or scraper. The key here is to go slow and steady. Apply just enough pressure to lift the paper without gouging the wall beneath.
There will be spots where the wallpaper puts up a fight. When that happens, don’t force it—just reapply your removal solution, give it a few more minutes, and try again. I’ve found that patience really pays off here. At Lightmen Painting, we take great care during this step to preserve the integrity of the walls, ensuring a smooth surface for whatever comes next, whether it’s a fresh coat of paint or new wallpaper.
Cleaning Up Residual Adhesive
Even after the wallpaper is gone, the job isn’t finished. You’ll likely be left with some sticky adhesive residue that needs to be dealt with. This step is crucial for ensuring that your walls are ready for their next transformation.
To remove the leftover adhesive, start with a sponge and warm water. Wipe down the walls thoroughly, using a bit of elbow grease where necessary. If the adhesive is particularly stubborn, a commercial adhesive remover can help. Just be sure to follow the product instructions carefully to avoid damaging the wall surface.
Once the walls are clean and free of adhesive, give them time to dry completely. This is important—if you rush into painting or re-papering before the walls are dry, you could end up with bubbles or peeling down the line.
Dealing with Common Challenges
Wallpaper removal is one of those tasks that can quickly turn from a straightforward job into a full-blown headache. You start with good intentions, expecting the paper to peel off in nice, clean sheets, but instead, you’re left with tiny scraps that refuse to budge, or worse, damaged walls that need extensive repair. Trust me, I’ve been there, and I know how frustrating it can be. But fear not—whether you’re dealing with stubborn wallpaper or the aftermath of its removal, there are ways to handle these challenges and still come out on top.
H3: What to Do When the Wallpaper Won’t Budge
So, what do you do when that wallpaper just won’t come off? This is a common problem, especially in older homes where the wallpaper has been up for decades, or where it’s been applied in multiple layers. I once tackled a room that had three layers of wallpaper, each seemingly more stubborn than the last. It felt like peeling back the layers of history, and not in a fun way.
If you find yourself in this situation, the first thing to try is reapplying your removal solution. Sometimes, the adhesive just needs a little more time to soften. Make sure you’re using a scoring tool to perforate the wallpaper, allowing the solution to penetrate deeper. For particularly tough spots, applying a steam machine can work wonders. The heat and moisture from the steam help to loosen the glue, making it easier to scrape off even the most obstinate paper.
In some cases, the wallpaper might be so old or brittle that it crumbles as you try to remove it. This can make the job even more tedious, but it’s important to be patient and methodical. Start by peeling off as much as you can by hand, then use a scraper and removal solution to tackle the remnants. It might take a few passes, but eventually, you’ll get there.
But let’s be honest—there are times when no amount of elbow grease will do the trick. If you’re spending hours and making little progress, it might be time to call in the professionals. Lightmen Painting has dealt with every type of wallpaper you can imagine, and we have the tools and experience to remove even the most stubborn layers without damaging your walls. Sometimes, it’s just worth it to bring in the experts and save yourself the hassle.
H3: Repairing Walls After Wallpaper Removal
Once the wallpaper is finally down, you might think the hard part is over. But sometimes, the removal process reveals a new challenge: damaged walls. It’s not uncommon to find nicks, gouges, or even entire sections of drywall that need repair after the wallpaper has been stripped away.
The first step in repairing your walls is to assess the damage. Small holes and minor imperfections can usually be fixed with a bit of spackle or joint compound. Apply the spackle with a putty knife, smoothing it out to create an even surface. Once it’s dry, sand it down to match the surrounding wall. For larger holes, you might need to use a patch kit, which typically includes a piece of mesh to cover the hole and a compound to smooth over it.
Rough spots are another common issue, especially if the wallpaper was removed hastily or without proper preparation. Sanding is your best friend here. Use fine-grit sandpaper to gently smooth out any rough patches, taking care not to sand too deeply and damage the drywall underneath. Remember, the goal is to create a surface that’s smooth and ready for primer and paint.
Speaking of primer, this step is crucial after wallpaper removal, especially if you plan to paint the walls. Primer not only helps to cover any remaining adhesive but also seals the wall, providing a uniform base for the paint. Without a good primer, you might find that your paint doesn’t adhere properly, leading to a less-than-perfect finish.
In some cases, after the wallpaper is removed, the walls might be too damaged for a simple fix. This is when calling in professionals like Lightmen Painting can really pay off. We have the expertise to assess the situation and make the necessary repairs, ensuring that your walls are in perfect condition before the painting begins. Whether it’s patching large areas of drywall or applying a skim coat to smooth out imperfections, we’ll make sure your walls look flawless.
In Our Experience:
"Removing wallpaper is as much about precision as it is about patience. Employing the right tools and techniques, such as proper scoring and the use of professional-grade steamers, can dramatically ease the process, ensuring the walls remain intact and ready for their next makeover."
Preventing Future Wallpaper Removal Nightmares
We’ve all been there—standing in a room surrounded by shredded wallpaper and sticky adhesive, wondering how something as seemingly simple as wallpaper removal could turn into such a nightmare. If you’ve just survived a wallpaper removal ordeal, the last thing you want is to set yourself up for a repeat performance in the future. Thankfully, there are ways to prevent this headache from ever happening again. Whether you’re planning to wallpaper another room or are simply thinking ahead, choosing the right products and techniques can make all the difference.
Choosing Removable Wallpaper for the Future
One of the best ways to avoid future wallpaper removal nightmares is by choosing removable wallpaper. Peel-and-stick wallpaper, which has gained popularity in recent years, is a game-changer. Unlike traditional wallpaper, which is often installed with heavy-duty adhesive, peel-and-stick wallpaper uses a pressure-sensitive adhesive that allows you to reposition or remove it easily without damaging your walls.Peel-and-stick wallpaper is perfect for those who like to change up their décor frequently or for renters who want to add a personal touch without making permanent changes. It’s also a great option for kids’ rooms, where tastes tend to evolve quickly. And don’t worry about limited design choices—these days, peel-and-stick wallpaper comes in a wide variety of patterns, colors, and textures, so you can find something that suits your style without compromising on quality.
However, not all peel-and-stick wallpapers are created equal. It’s important to choose a high-quality product that won’t lose its adhesive properties over time or leave residue behind when it’s removed. This is where professional advice can really come in handy. At Lightmen Painting, we’ve seen our fair share of wallpaper disasters, and we know which products hold up over time and which ones are likely to cause problems down the road. We can help you select a removable wallpaper that will give you the look you want without the hassle later on.
Another option to consider is wallpaper with modern, easier-to-remove adhesives. These wallpapers are designed to be both durable and easy to remove when the time comes. While they still require traditional installation methods, the adhesive is formulated to break down more easily with moisture, making removal a much simpler process. This is a great middle ground for those who want the look and feel of traditional wallpaper without the commitment.
Proper Wallpaper Installation Techniques
Even the best wallpaper can turn into a nightmare if it’s not installed correctly. Proper installation is key to ensuring that your wallpaper can be easily removed in the future, and it all starts with preparation.
The first step in any wallpaper installation is to properly prepare the walls. This means cleaning the surface thoroughly to remove any dust, dirt, or grease that could interfere with the adhesive. If your walls are freshly painted, make sure the paint has had plenty of time to cure—typically about two to four weeks. Applying wallpaper to uncured paint is a recipe for disaster and can lead to adhesion problems or damage to both the wallpaper and the wall.
Next, you’ll want to apply a wallpaper primer or sizing to the walls. This step is crucial, as it creates a barrier between the wall and the wallpaper, making it easier to remove later on. Primer helps to prevent the adhesive from bonding too strongly with the wall surface, which is often the culprit behind those dreaded wallpaper removal nightmares. At Lightmen Painting, we always use a high-quality primer before applying wallpaper to ensure that the removal process, when the time comes, is as smooth and painless as possible.
When it comes to actually applying the wallpaper, precision is key. Start by measuring and cutting your wallpaper strips carefully, ensuring that the pattern matches up from strip to strip. Use a level to make sure the first strip is perfectly vertical—any mistakes here will only become more noticeable as you move across the wall. Smooth out each strip with a wallpaper smoothing tool to remove any bubbles or wrinkles, and trim the edges neatly around windows, doors, and baseboards.
Using the right adhesive is also critical. While some wallpapers come pre-pasted, others require you to apply paste yourself. Be sure to use the adhesive recommended by the wallpaper manufacturer, as different wallpapers require different types of paste. Applying too much adhesive can cause the wallpaper to slide around or become overly difficult to remove later, while too little adhesive can lead to peeling or bubbling.
Finally, take your time to smooth out any air bubbles and ensure that each strip is properly aligned. This might seem tedious, but it’s worth the effort to avoid problems down the line. A well-installed wallpaper will not only look better, but it will also be easier to remove when you’re ready for a change.
Conclusion
Successfully removing stubborn wallpaper is a satisfying accomplishment, but preventing future wallpaper removal nightmares is even better. By choosing removable wallpaper or using modern, easy-to-remove adhesives, and by following proper installation techniques, you can enjoy beautiful walls without the worry of what might happen when it’s time for a change.
If you’re ready to tackle a wallpaper project but want to avoid the pitfalls of the past, Lightmen Painting is here to help. Whether you need advice on selecting the right products or professional assistance with installation, our team has the experience and expertise to ensure your wallpaper looks great and can be removed easily when the time comes. Contact us today to schedule a consultation or to get more tips on making your wallpaper project a success.
Do You Have Questions? Give Us A Call With Any & All! 503-389-5758
-
People Also Ask:
What is the best method for removing stubborn wallpaper?
Removing stubborn wallpaper typically involves a combination of scoring, applying a removal solution or steamer, and careful scraping. For extremely tough wallpapers, a commercial steamer is often the most effective tool, allowing the steam to penetrate and loosen the adhesive for easier removal.
Why are some wallpapers harder to remove than others?
Some wallpapers are more difficult to remove due to factors like the type of adhesive used, the age of the wallpaper, or the presence of multiple layers. Wallpapers applied without proper priming or on unsealed drywall can also be particularly challenging to remove.
What should you do if wallpaper removal damages the wall?
If removing wallpaper results in damaged walls, the next steps involve cleaning off any remaining adhesive, filling in holes or gouges with spackle, and sanding the surface smooth. Applying a primer before painting or re-papering can help ensure a smooth, professional finish.
-
SUBSCRIBE TO OUR BLOG: Stay informed with the latest in Painting and DIY projects by subscribing to Lightmen Painting. Get insights, tips, and more delivered straight to your inbox. We would also love to know what you would like to read about, leave thoughts on where we should go next. Interests, Topics, Ideas, all are welcome.
If your in the Portland, Or. area and need advice or a free no obligation estimate call us at 503-389-5758 or email scheduling@lightmenpainting.com
Shout Out:
Celebrating FOX 2 Now: Highlighting Excellence in Local Painting Services
From the team at Lightmen Painting, we extend our highest praise to FOX 2 Now for showcasing reputable local painting contractors like Fagan Painting. Just as we are committed to quality and professionalism in our painting services, FOX 2 Now helps homeowners connect with trusted professionals who consistently go above and beyond. Their dedication to promoting local excellence aligns perfectly with our mission to deliver top-tier painting solutions that enhance and beautify environments.
Thanks for stopping by Lightmen Daily! Stay tuned for more practical tips and expert advice on making your painting projects flawless, from wall to floor!
Definitions
- Wallpaper Scorer: A tool used to create small holes in wallpaper, helping removal solutions penetrate and loosen the adhesive.
- Putty Knife/Scraper: A tool used to peel and scrape off wallpaper from walls gently.
- Steaming: A method involving steam to soften wallpaper adhesive, facilitating easier removal.
- Adhesive Remover: A chemical solution used to dissolve the remaining glue on walls after the wallpaper is removed.
- DIY Removal Solutions: Homemade mixtures, often made with vinegar or fabric softener, used to weaken wallpaper adhesive.
- Peel-and-Stick Wallpaper: A type of wallpaper designed for easy application and removal, often recommended for avoiding future removal challenges.
- Professional-Grade Tools: Specialized tools that enhance the efficiency and effectiveness of wallpaper removal, typically used by professionals.
- Protective Floor Covering: Material used to protect floors from damage and spills during the wallpaper removal process.
- Wall Priming: The process of preparing the wall with a primer before wallpaper application to ensure easy removal and protect the integrity of the wall.
- Lightmen Painting: A professional service known for employing expert techniques and tools for wallpaper removal and application.
Lightmen Painting Serving: Portland, Tigard, Lake Oswego, Tualatin, West Linn, Milwaukie, Sherwood, Happy Valley, Oregon City, Beaverton, Hillsboro, Gresham -Trade Partners-