
How to Achieve a Beautiful Finish on Painted Marble Tile
Key Highlights of the Article
- Comprehensive Guide: A step-by-step guide to achieving a beautiful, durable finish on painted marble tile.
- Surface Preparation Importance: Emphasizing the critical role of surface prep, including cleaning, sanding, and priming.
- Selecting the Right Products: Tips on choosing the best paints and sealants for marble.
- Avoiding Common Mistakes: Insight into the pitfalls to avoid during the painting process to ensure a flawless finish.
How to Achieve a Beautiful Finish on Painted Marble Tile
If you’re looking to refresh and modernize your space without breaking the bank, painting marble tile has become a popular option. This cost-effective method offers a great way to give your room a new look without the hassle and expense of tearing out existing tiles. Let me tell you about a recent marble tile painting project that completely transformed a space—imagine a dated bathroom with pinkish marble tiles becoming a sleek, modern oasis with just a few coats of carefully chosen paint. The difference was truly stunning, and it all came down to understanding the right techniques and materials.
Understanding Marble Tile and Why Paint It?
Characteristics of Marble
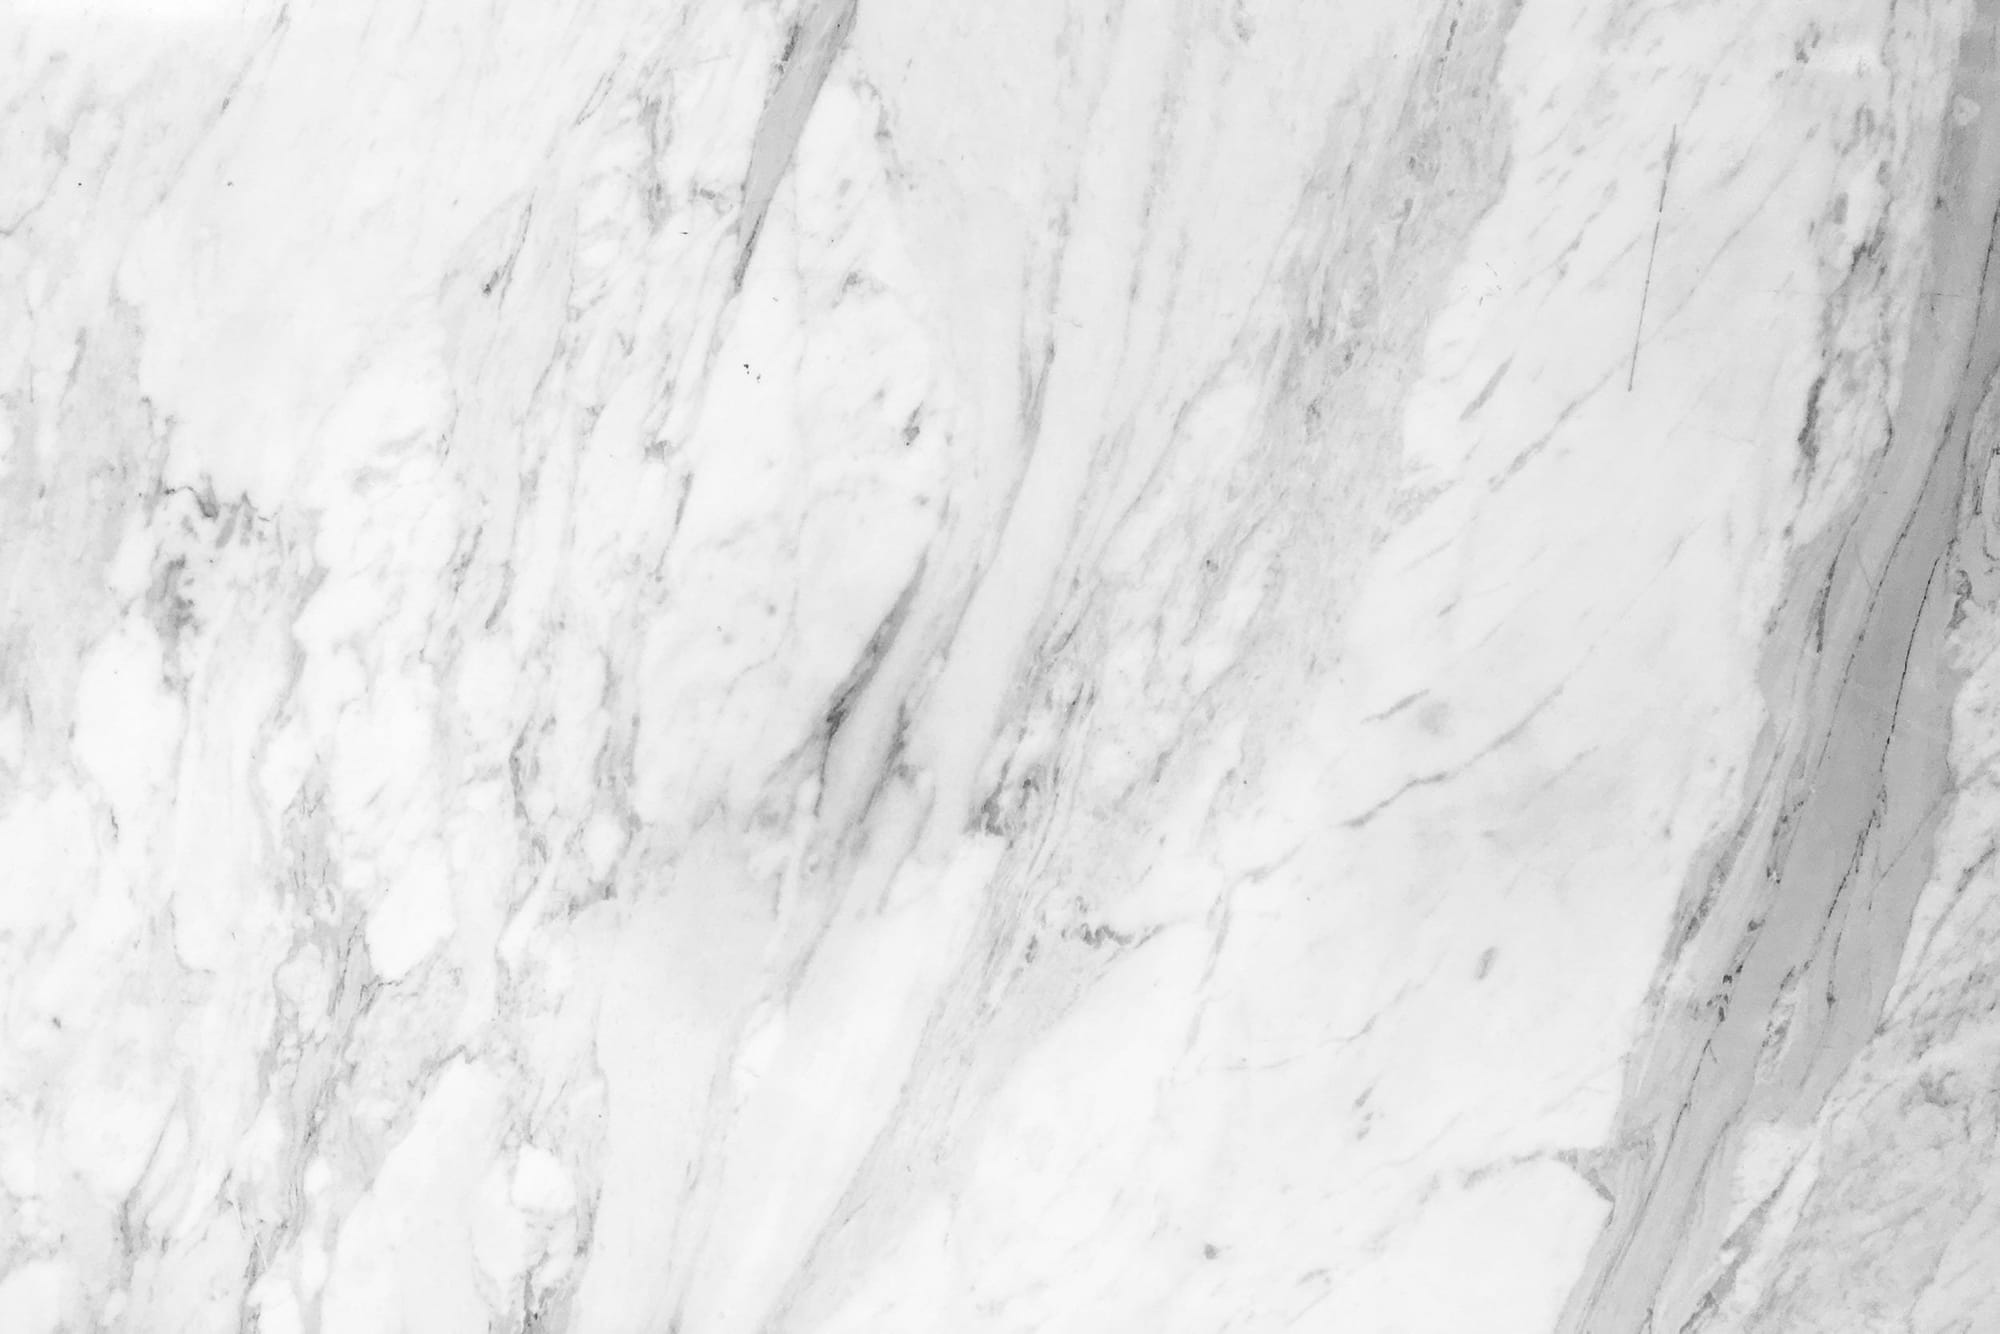
Marble is known for its natural beauty, characterized by unique veining and a smooth, polished surface that gives it a timeless, luxurious appeal. However, not every homeowner wants to maintain the traditional look of marble, especially if it doesn’t fit with their current design vision. Marble’s high maintenance and susceptibility to staining can also make it a challenging choice for certain spaces like kitchens and bathrooms. For those who want the strength and durability of marble but prefer a different aesthetic, painting marble tile offers a perfect solution.
Reasons to Paint Marble Tile
Painting marble tile is a great option for several reasons:
Cost-Effective Makeover: Marble is expensive to replace, especially if it’s used extensively throughout a space. Painting is a budget-friendly alternative that allows you to achieve a fresh, updated look without the cost and hassle of full replacement. Think of it as a facelift for your floors or walls—much less invasive than surgery, but still achieving a transformative result.
Custom Aesthetic: With paint, the sky's the limit. You can achieve virtually any color or finish that matches your design vision. Whether you want a glossy black, a muted matte gray, or even a faux stone effect that mimics another type of natural stone, paint allows for complete customization. You’re not limited to the colors or patterns that nature offers; instead, you can choose exactly what fits your style.
Things to Know
- Preparation is Key: Properly cleaning and sanding the marble tile is essential for paint adhesion.
- Choose the Right Paint: Epoxy or oil-based paints are best suited for marble due to their strong adhesion and durability.
- Don’t Skip Sealing: Applying a quality sealant after painting will protect the finish from moisture, scratches, and UV damage.
- Allow Adequate Drying Time: Rushing the drying process can lead to streaks, smudges, or peeling.
- Consider Professional Help for Complex Projects: Large or intricate marble painting projects may benefit from professional expertise to achieve a flawless finish.
Preparing Your Marble Tile for Painting
When it comes to painting marble tile, preparation is key. Proper prep work ensures that your paint adheres well and provides a long-lasting, professional finish. I’ve seen it firsthand—skip these steps, and you might end up with peeling, flaking paint that quickly becomes a headache. Let’s dive into the crucial steps to prepare your marble tile for painting.
Clean the Surface Thoroughly
Importance of Cleaning
Cleaning the marble tile thoroughly is the foundation of a successful painting project. Marble tiles are notorious for accumulating oils, dirt, and residue from sealants over time. These contaminants can prevent the paint from adhering properly, leading to chipping and peeling. Imagine trying to paint over a greasy stovetop—it just won’t stick! The same logic applies to marble.
Cleaning Tips
Start by using a mild detergent or a specialized marble cleaner. Be sure to avoid acidic cleaners like vinegar or lemon juice, as they can damage the marble's surface. I recommend mixing a few drops of a pH-neutral dish soap with warm water. Use a soft cloth or sponge to scrub the surface, focusing on any stubborn spots or grout lines. Afterward, rinse the tiles with clean water to remove any soap residue, and dry them with a lint-free cloth. If your marble has old sealants, consider using a commercial marble stripper to remove it completely.
Sanding the Marble Tile
Why Sanding is Necessary
Sanding the marble tile may seem counterintuitive given its smooth, polished finish, but it's a critical step for creating a rougher surface that the paint can adhere to. Without this step, the paint will likely slip right off the slick surface, wasting your time and money. Think of sanding as giving the paint a friendly place to "grab onto"—it’s the handshake before the business deal!
Tools and Techniques
For sanding marble, use fine-grit sandpaper, such as 220-grit, which is gentle enough not to damage the marble but effective in roughing up the surface. I recommend sanding in a circular motion, applying even pressure to avoid creating deep scratches or uneven areas. After sanding, make sure to wipe down the surface with a damp cloth to remove all dust particles. This step is vital; even the tiniest particles left behind can cause the paint to bubble or peel later on.
Applying a High-Quality Primer
Purpose of Priming
A high-quality primer acts as a bridge between the marble's smooth surface and your paint. Priming is crucial because it helps the paint adhere better and ensures an even, long-lasting finish. Skipping the primer is like building a house without a foundation—sure, you might get away with it for a while, but eventually, it will come crashing down.
Choosing the Right Primer
Not all primers are created equal, especially when it comes to painting marble. Opt for a bonding primer specifically designed for slick surfaces like marble, tile, or glass. Epoxy-based primers are an excellent choice because they offer superior adhesion and durability, making them ideal for high-traffic areas. Apply the primer evenly using a high-quality brush or roller and allow it to dry completely according to the manufacturer’s instructions—typically, this means at least 24 hours.
Painting Your Marble Tile for a Professional Finish
Now that your marble tile is prepped and ready, it’s time to get to the fun part—painting! However, achieving a professional finish involves more than just slapping on a coat of paint. Here’s how to do it right.
Selecting the Right Paint
Types of Paint
When painting marble, you need a paint that’s both durable and capable of withstanding daily wear and tear. Epoxy and oil-based paints are your best bet. Epoxy paints are incredibly durable, resistant to moisture, and provide a hard, glossy finish that’s perfect for areas like bathrooms and kitchens. Oil-based paints also offer excellent adhesion and durability, but they require longer drying times. Whichever you choose, ensure it is specifically formulated for use on hard surfaces like tile or marble.
Color Considerations
Choosing the right color is about more than just personal preference—it’s about finding a shade that complements the existing decor while respecting marble’s natural beauty. If your space already has a lot of bold colors, consider a neutral paint color that adds subtle elegance. On the other hand, if you’re looking to make a statement, go for a rich, deep hue that adds drama and sophistication. Remember, once painted, your marble won’t have its natural veining visible, so the color will need to stand on its own.
Painting Techniques
First Coat Application
The first coat of paint sets the stage for all subsequent layers, so it’s crucial to apply it carefully and evenly. Use a high-quality brush or roller designed for smooth surfaces to avoid streaks or brush marks. Begin with thin, even strokes, and don’t overload your brush or roller with paint. A thin, well-applied coat will dry faster and provide a more even base for the next layers.
Layering for Depth
To achieve a rich, professional finish, apply multiple thin layers of paint rather than one thick coat. This method allows each layer to dry thoroughly and prevents problems like streaking, bubbling, or sagging. Depending on the color and type of paint, you might need three or more coats to reach the desired opacity and depth.
Drying Times
Allow sufficient drying time between coats to ensure a flawless finish. This is especially important when working with oil-based or epoxy paints, which can take longer to dry. I always recommend waiting at least 24 hours between coats to prevent smudging or uneven surfaces. Be patient—rushing this step can ruin all your hard work!
Finishing Touches
Sealing the Paint
Once the final coat of paint has dried, it’s time to seal it to protect your newly painted marble tile from scratches, moisture, and general wear and tear. Sealing the paint is crucial for durability, particularly in high-traffic areas. A high-quality polyurethane sealer or epoxy-based clear coat is ideal for this purpose.
Types of Sealants
Choose a sealer that provides a protective finish without yellowing or cracking over time. Water-based polyurethane sealers are great for interior spaces as they dry clear and are less prone to yellowing, while solvent-based options are often more durable for high-traffic or moisture-prone areas. Apply two to three coats of sealer, allowing each to dry fully before applying the next. A good sealer will keep your painted marble looking fresh and vibrant for years to come.
Maintenance Tips for Painted Marble Tile
Once you've painted your marble tile to perfection, the next challenge is maintaining that beautiful finish. Keeping your painted marble looking fresh and vibrant doesn't have to be a daunting task, but it does require some mindful care. Here are some expert tips to help you keep your painted marble tile looking its best for years to come.
Cleaning Painted Marble
How to Clean Painted Marble Without Damaging the Finish
When it comes to cleaning painted marble, gentleness is key. Unlike traditional marble, which can handle a bit more aggressive cleaning, painted marble needs a delicate touch to avoid damaging the finish. Always use a soft cloth or a sponge with a mild detergent to clean the surface. Avoid using harsh chemicals, acidic cleaners like vinegar, or abrasive pads that can scratch or strip the paint. I recommend making a simple solution with a few drops of dish soap mixed with warm water. Gently wipe down the surface, rinse with clean water, and dry with a lint-free cloth. This method will help preserve the paint's integrity while keeping your tiles looking spotless.
Avoiding Scratches and Chips
Tips for Maintaining the Integrity of the Painted Surface
Painted marble, especially in high-traffic areas, is susceptible to scratches and chips, so it's essential to take preventative measures. One effective tip is to use felt pads under the legs of furniture placed on or near the painted tiles. These pads act as a buffer and prevent any scratches or dents when furniture is moved. Additionally, consider using area rugs or mats in heavily used areas to protect the painted surface. Regularly inspect the surface for any chips or scratches, and promptly touch them up to prevent them from worsening. Remember, a bit of care goes a long way in maintaining that freshly painted look!
Common Mistakes to Avoid When Painting Marble Tile
Painting marble tile is a fantastic way to refresh your space, but it’s easy to make mistakes that can undermine all your hard work. Avoiding these common pitfalls can save you time, money, and frustration down the road.
Skipping Surface Preparation
Consequences
Skipping the crucial steps of sanding or priming is one of the biggest mistakes you can make when painting marble tile. Without proper surface preparation, the paint is unlikely to adhere properly, leading to peeling, chipping, and an overall poor finish. I’ve seen too many DIY projects where enthusiasm took over, and the prep work was neglected—only for the paint to start peeling a few weeks later. It’s always worth investing the time upfront to sand and prime your tiles thoroughly. Think of it as setting the stage for a performance; without the right preparation, the main event can fall flat.
Using the Wrong Type of Paint
Why It Matters
Choosing the right paint for marble is critical. Many people mistakenly use regular latex or acrylic paints, thinking they’ll do the job. However, these paints often lack the necessary bonding agents and durability needed for slick surfaces like marble. Epoxy or oil-based paints are the gold standard here—they provide a stronger bond, resist moisture, and endure high traffic. The wrong paint might initially look good, but it won’t take long before it starts showing signs of wear, such as flaking, peeling, or discoloration. Investing in the right type of paint might seem more costly initially, but it’s far cheaper than redoing the whole project.
Rushing the Drying Process
Potential Issues
Patience truly is a virtue when painting marble tile. Rushing the drying process is a common mistake that can lead to a host of problems, including streaks, uneven layers, and a lackluster finish. Each layer of paint and primer needs ample time to dry fully to ensure proper adhesion and durability. I've seen projects go south simply because of impatience—trust me, waiting those extra hours (or even days, depending on the paint) makes all the difference. If you're eager to finish quickly, remember that letting each coat dry properly is the key to achieving that professional, long-lasting finish.
In Our Experience:
"Achieving a beautiful finish on painted marble tile is all about attention to detail in the preparation and painting process. In our experience, the most successful projects involve meticulous cleaning, proper sanding, and the use of high-quality bonding primers and paints. Sealing the final product is equally important to protect the finish and ensure durability. Whether you're a DIY enthusiast or considering hiring a professional, these steps are crucial for a flawless outcome."
When to Call in a Professional
Painting marble tile can be a transformative project, but it’s not always as simple as it seems. There are situations where calling in a professional is not just recommended—it’s the smartest move you can make to ensure a beautiful, long-lasting result. Let’s break down when it might be time to put down the brush and pick up the phone.
Complex Projects
Why Hire a Pro?
Some projects are simply more complex than others, and that’s when a professional's expertise becomes invaluable. If you’re dealing with large-scale areas or intricate designs, like a bathroom floor or a detailed marble fireplace, it's best to consult with someone who has the experience and the right tools. Marble tiles, especially those with unique veining or patterns, can be tricky to paint evenly. A professional will know how to handle these challenges, ensuring that the final result is seamless and stunning.
Consider a scenario where a client wanted to paint an entire kitchen’s marble backsplash. The backsplash had a unique mosaic pattern that required precision and attention to detail. Even the most seasoned DIYer would find themselves spending hours upon hours on such a task. In cases like this, hiring a professional ensures that you get the results you want without the stress and time commitment.
Achieving a Flawless Finish
Professional Expertise
There’s a reason why professionals make it look so easy—because they have the right tools and techniques to achieve a flawless finish. Professional painters use high-grade brushes, rollers, and sprayers that deliver a smooth, even coat of paint, free of streaks and imperfections. They also know the nuances of surface preparation, like sanding just enough to create a good texture without damaging the marble. And let's not forget about their ability to perfectly apply primers and sealants, which are crucial to ensuring the paint adheres correctly and lasts.
I remember working on a project where a homeowner attempted to paint their marble shower walls themselves. After multiple attempts, they couldn't achieve a smooth finish, and the paint began peeling within weeks due to moisture exposure. They finally called in a professional who was able to correct the prep work, choose the right products, and apply the paint in a way that withstood the bathroom's humidity. Sometimes, you just need that professional touch to ensure a long-lasting, showroom-quality finish.
Final Thoughts: The Transformation of Painted Marble Tile
Painting marble tile can be a fantastic way to revitalize your space without the expense and hassle of a full renovation. From choosing the right paint and preparing the surface to applying the paint and sealing it for durability, each step requires careful attention to detail. If done correctly, the transformation can be remarkable—turning dated marble tiles into a fresh, modern surface that breathes new life into your home.
Reflect on the Process
Whether you’re looking to give your bathroom a facelift or add a touch of elegance to your kitchen, painting marble tile can make a significant impact. The key to success lies in preparation: thoroughly cleaning the tiles, sanding them to ensure proper paint adhesion, applying a suitable primer, and selecting the right paint. Each layer needs to be applied carefully, with sufficient drying time to avoid streaks or uneven finishes. Lastly, sealing the tiles protects your hard work and ensures that the new look lasts for years to come.
Encourage DIY Enthusiasts
For those of you who enjoy tackling home improvement projects, painting marble tiles can be a rewarding endeavor. It’s an opportunity to put your personal touch on a space, and with the right preparation and patience, the results can be stunning. However, if you feel overwhelmed by the scale of the project or if you want a truly flawless finish, don’t hesitate to call in a professional. Sometimes, a little expert help is all you need to turn a daunting project into a beautiful success.
Remember, whether you choose to go the DIY route or hire a professional, the goal is to create a space that you love. So, take your time, plan carefully, and get ready to enjoy the transformation that painted marble tile can bring to your home.
Do You Have Questions? Give Us A Call With Any & All! 503-389-5758
-
People Also Ask:
Can you paint over marble tile?
Yes, you can paint over marble tile, but it requires careful preparation, including thorough cleaning, sanding, and priming, to ensure the paint adheres properly and lasts.
What type of paint is best for marble tile?
The best types of paint for marble tile are epoxy or oil-based paints, as they offer superior adhesion and durability on smooth surfaces like marble.
How do you seal painted marble tile?
To seal painted marble tile, use a high-quality sealant designed for durability and resistance to yellowing or cracking, applied after the paint has fully dried.
-
SUBSCRIBE TO OUR BLOG: Stay informed with the latest in Painting and DIY projects by subscribing to Lightmen Painting. Get insights, tips, and more delivered straight to your inbox. We would also love to know what you would like to read about, leave thoughts on where we should go next. Interests, Topics, Ideas, all are welcome.

If your in the Portland, Or. area and need advice or a free no obligation estimate call us at 503-389-5758 or email scheduling@lightmenpainting.com
Thanks for stopping by Lightmen Daily! Stay tuned for more practical tips and expert advice on making your painting projects flawless, from wall to floor!
Definitions
- Marble Tile: A natural stone tile known for its unique veining and luxurious appearance, often used in high-end home designs.
- Epoxy Paint: A durable paint that provides excellent adhesion and a tough finish, ideal for surfaces like marble that require a strong bond.
- Oil-Based Paint: A type of paint known for its smooth finish and durability, suitable for painting slick surfaces like marble.
- Surface Preparation: The process of cleaning, sanding, and priming a surface before painting to ensure proper paint adhesion.
- Sanding: The act of roughening a surface with sandpaper to create a texture that paint can adhere to more effectively.
- Bonding Primer: A special type of primer designed to adhere to slick, non-porous surfaces like marble, ensuring a strong base for paint.
- Sealing: The final step in the painting process where a sealant is applied to protect the paint from damage and enhance durability.
- Drying Time: The period required for paint to dry between coats, critical for achieving a smooth, even finish.
- Color Considerations: The process of selecting paint colors that complement the space while maintaining the natural elegance of marble.
- Maintenance Tips: Guidance on how to care for painted marble to preserve its finish and prevent damage over time.
Lightmen Painting Serving: Portland, Tigard, Lake Oswego, Tualatin, West Linn, Milwaukie, Sherwood, Happy Valley, Oregon City, Beaverton, Hillsboro, Gresham -Trade Partners-