
How to Paint Over Stubborn Grease Stains
Key Highlights of the Article
- Comprehensive steps for cleaning and preparing surfaces with grease stains.
- Importance of using the right primer and paint for effective coverage.
- Tips for preventing future grease stains in high-traffic areas.
- Lightmen Painting’s expertise in handling tough painting challenges.
How to Paint Over Stubborn Grease Stains
Grease stains can be a painter's nightmare, especially when you're dealing with a room like the kitchen, where cooking splatters are a daily occurrence. I remember one particular weekend after a big family cookout. The kitchen walls were covered in splatters and grease stains that had somehow evaded every attempt at cleaning. It became clear that a simple wipe-down wouldn't cut it, and repainting over those stains without proper preparation would only make matters worse. If you've ever faced a similar challenge, you know exactly what I'm talking about.
Understanding the Nature of Grease Stains
Why Grease Stains Are Hard to Cover
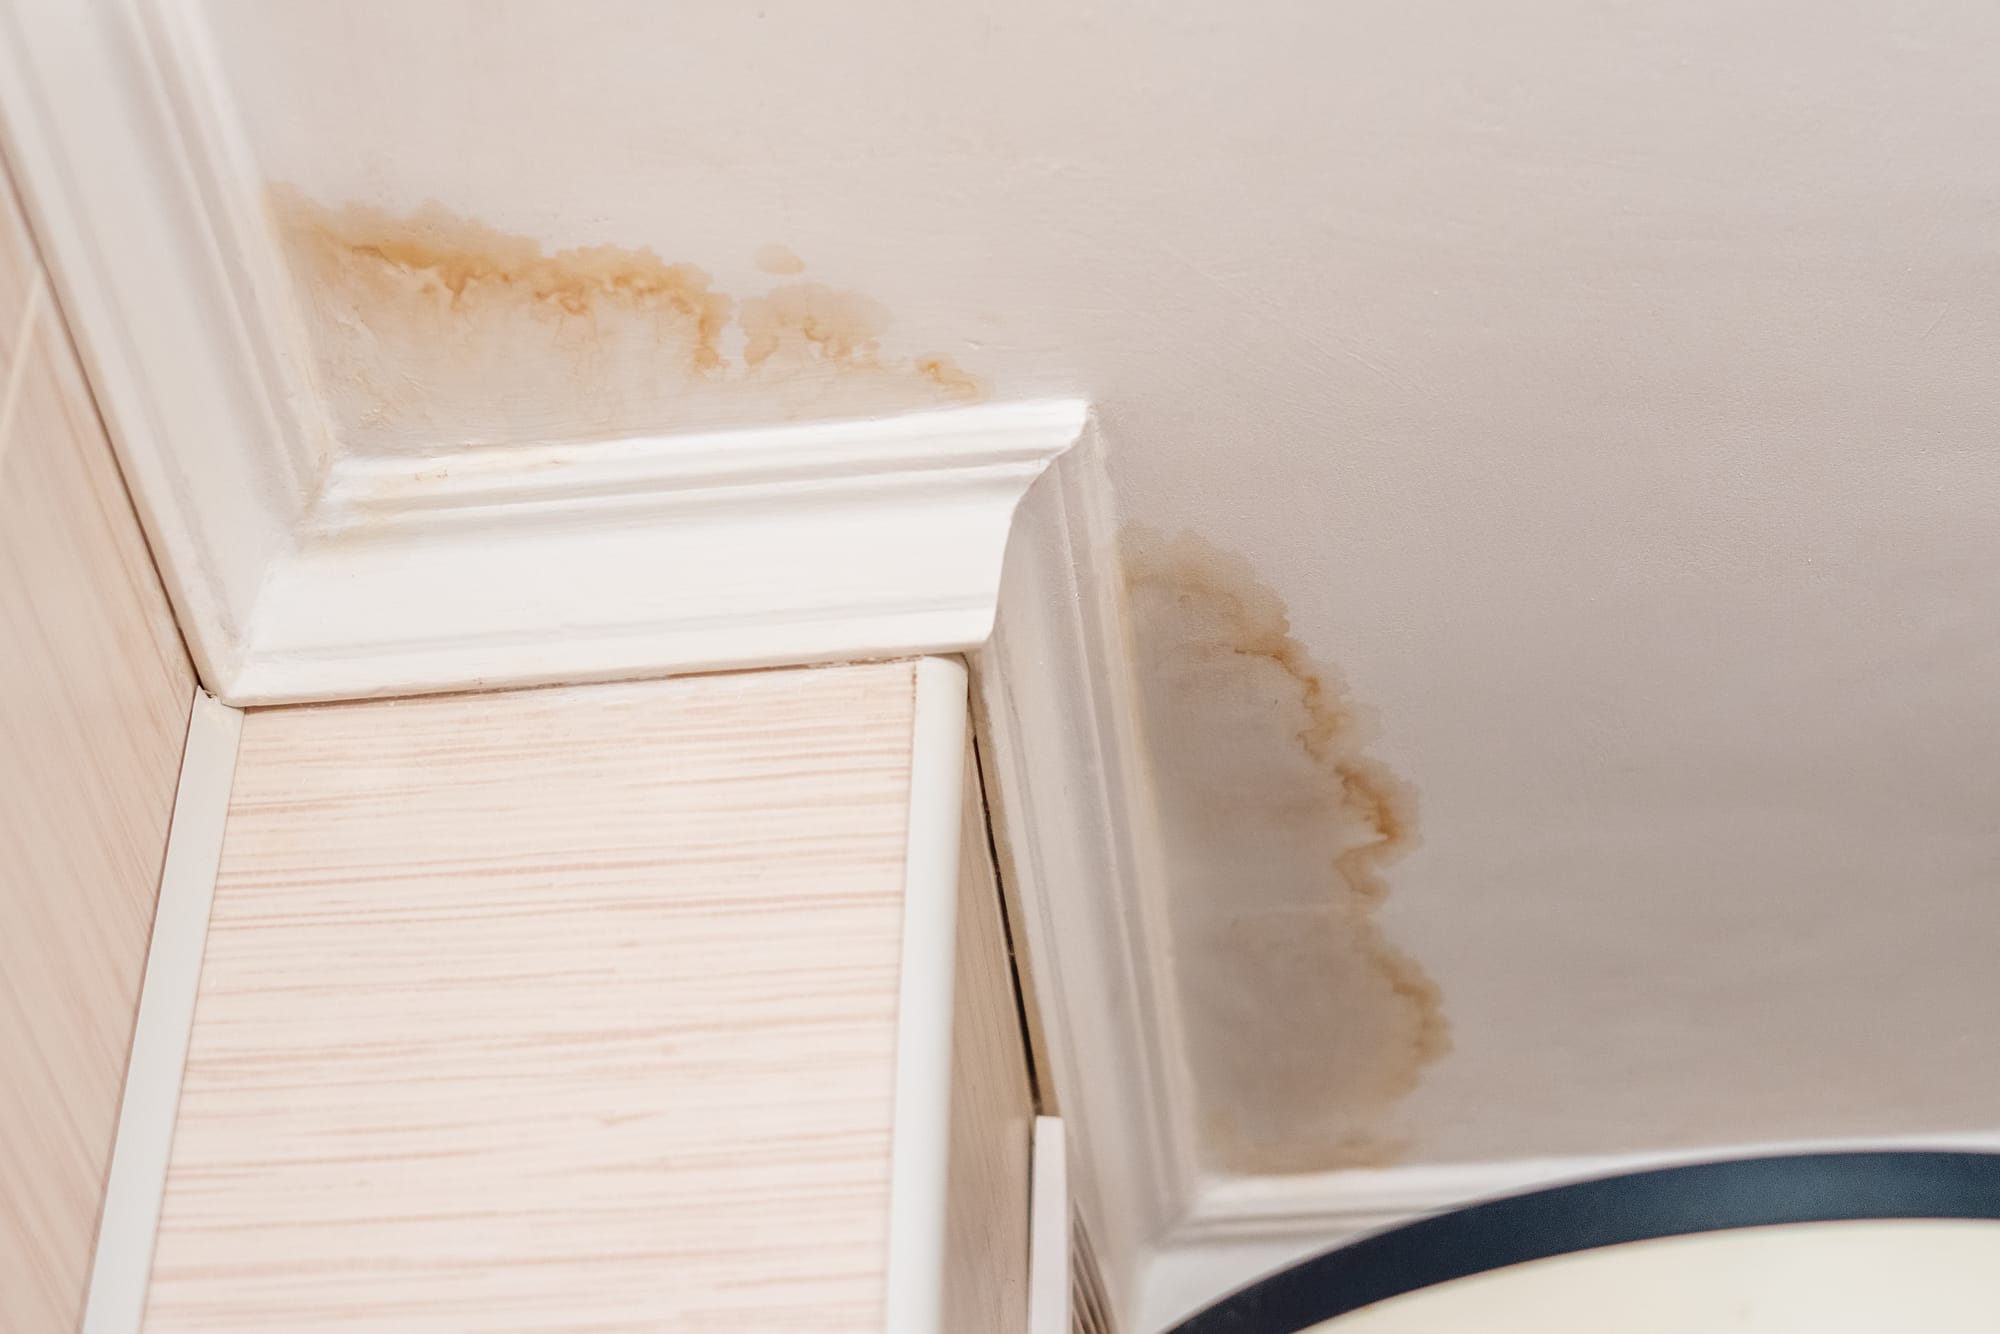
Grease stains are notoriously tricky to deal with because they penetrate the surface of the paint and even the drywall beneath it. Unlike other stains, grease has a way of seeping into porous surfaces, making it resistant to standard cleaning methods. This is why simply painting over grease stains can lead to poor adhesion, causing the new paint to peel or bubble over time.
Think of grease as the enemy of adhesion. It creates a slick surface that paint can’t properly bond to, which means you’re not just dealing with a cosmetic issue; you’re facing a fundamental problem in the painting process. If you’ve ever painted over a greasy surface only to see your hard work unravel within days, you know the frustration.
The Importance of Addressing Grease Stains Properly Before Painting
Before you even think about picking up a paintbrush, it's crucial to tackle those grease stains head-on. Proper surface preparation is the key to ensuring a long-lasting, smooth finish. The last thing you want is to invest time and money into a fresh coat of paint, only to have it marred by the reappearance of old stains.
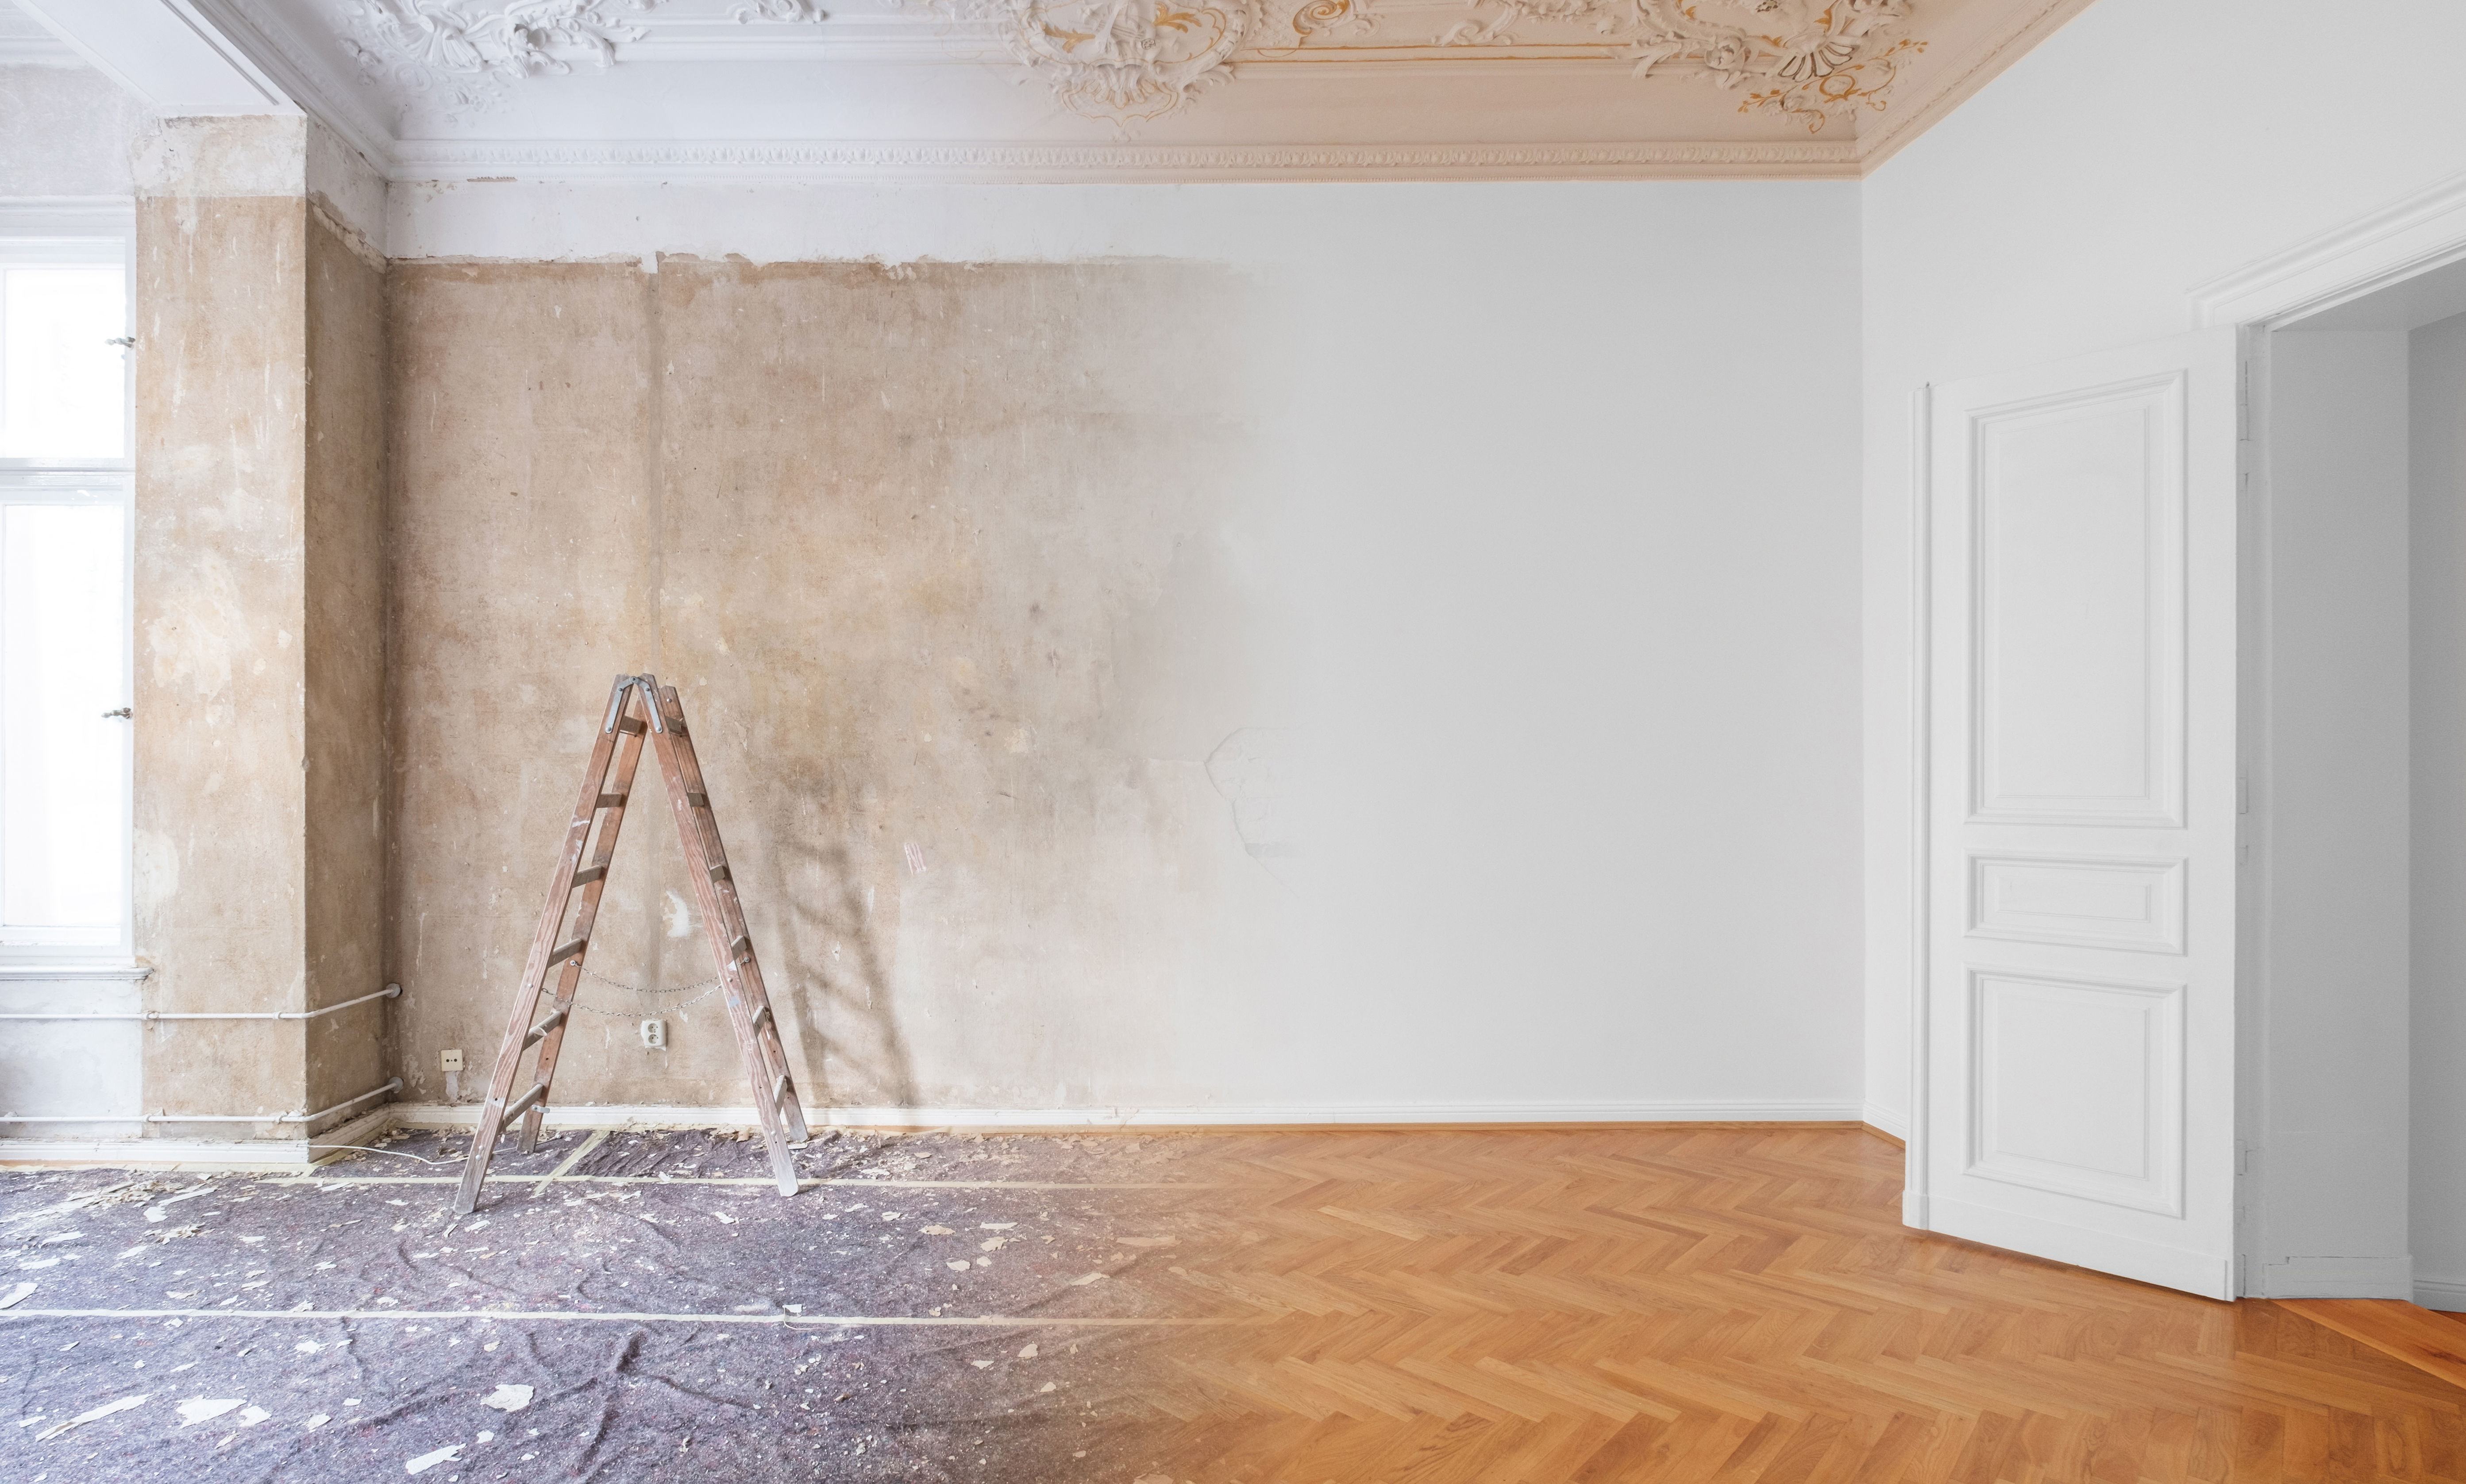
Preparing the Surface
When tackling grease stains, the key to a successful paint job lies in thorough surface preparation. If you've ever skipped a step and ended up with stains bleeding through your freshly painted walls, you know just how frustrating that can be. Let's dive into the right way to prepare your walls to ensure those pesky grease stains don't come back to haunt you.
Cleaning the Grease Stains
Before you even think about painting, you need to clean those grease stains off the walls. This step might seem simple, but doing it right makes all the difference in the final result. Start with the basics: a mixture of dish soap and warm water. Dish soap is excellent for breaking down grease, which is why it’s your first line of defense.
For tougher stains, you might need to bring out the big guns. Vinegar is a natural degreaser and works wonders on grease stains. Mix equal parts vinegar and water, and apply it to the stain with a sponge or cloth. If the stain is particularly stubborn, sprinkle some baking soda onto the stain after applying the vinegar solution. The gentle abrasion from the baking soda, combined with the degreasing power of vinegar, can lift even the most persistent grease.
Another option is to use a commercial degreaser, especially if you’re dealing with years of built-up grime. Products like Simple Green or Krud Kutter are specifically designed for this purpose and can make the job easier. However, remember to follow the instructions on the product label for the best results.
When scrubbing, use a non-abrasive sponge or cloth to avoid damaging the wall’s surface. Apply moderate pressure and work in circular motions to lift the grease effectively. After cleaning, give the area a good wipe with a clean, damp cloth to remove any residue from the cleaning agents.
Rinsing and Drying
Rinsing the surface after cleaning is just as important as the cleaning itself. Any leftover soap or degreaser can interfere with the primer and paint adhesion, leading to peeling or bubbling down the line. Use a damp cloth to thoroughly wipe down the cleaned area, ensuring all cleaning agents are removed.
Once rinsed, the next step is drying. You might be tempted to rush this part, but patience pays off here. The surface must be completely dry before moving on to priming. Any moisture left on the wall can weaken the primer’s bond, leading to a less durable finish. If you're in a hurry, you can use a fan or a hairdryer on a low setting to speed up the drying process, but ensure every last drop of moisture is gone before proceeding.
Using the Right Primer
Priming is a critical step in covering grease stains effectively. Skipping this step or choosing the wrong primer can result in those stains seeping through your new paint, ruining the look you’ve worked so hard to achieve. Here’s how to choose and apply the best primer for the job.
Importance of Priming
Priming does more than just create a smooth surface for paint application; it also acts as a barrier that locks in stains, preventing them from bleeding through to the topcoat. When dealing with grease stains, a high-quality primer is non-negotiable. Without it, no matter how many coats of paint you apply, the stain will eventually find its way to the surface.
Think of primer as the foundation of your paint job. It’s what holds everything together, ensuring that your final coat is smooth, even, and free of blemishes. For grease stains, this step is even more crucial because the oils in the grease can compromise paint adhesion if not properly sealed in.
Things to Know:
- Preparation is Critical: Proper surface prep with degreasing and priming is crucial for the best results.
- Choose the Right Finish: Depending on the room, satin or semi-gloss can offer added durability and ease of cleaning.
- Environmental Impact: Opting for low-VOC paints like Valspar Signature can improve indoor air quality and reduce environmental impact.
- Professional Advice: Consulting with professionals can ensure that you choose the best paint type for your specific needs and achieve optimal results.
Choosing the Best Primer
When it comes to primers, not all are created equal—especially for covering stubborn grease stains. The two main types of primers you’ll want to consider are oil-based and shellac-based.
Oil-Based Primers: These are excellent for covering grease stains because they penetrate the surface and seal in the stains effectively. They dry to a hard finish, providing a solid base for your paint. However, oil-based primers can be a bit smelly and require longer drying times, but their effectiveness is well worth the wait.
Shellac-Based Primers: If you need something with a little more kick, shellac-based primers are the way to go. They offer excellent adhesion and are incredibly effective at blocking stains, including grease, water, and even smoke stains. Shellac primers dry quickly and provide a durable surface for painting. They’re also great for high-humidity areas like kitchens and bathrooms.
Some top-performing primers for grease stains include Zinsser B-I-N Shellac-Based Primer and Kilz Original Oil-Based Primer. Both are highly recommended by professionals for their stain-blocking power and durability.
Application Techniques
Applying primer over grease stains requires careful technique to ensure even coverage and proper adhesion. Start by shaking the primer can well, then pour a small amount into a paint tray. Use a high-quality brush or roller, depending on the size of the area you’re covering.
Apply the primer in thin, even coats, working from top to bottom. For best results, use long, smooth strokes with a brush or even pressure with a roller. It’s essential to cover the entire stained area and a bit beyond, ensuring that the primer forms a seamless barrier.
After the first coat dries (typically within an hour for shellac-based primers and a few hours for oil-based), inspect the surface. If the stain is still visible, apply a second coat. Once the primer is fully dry and the stains are completely covered, you’re ready to apply your topcoat.
Painting Over the Primed Surface
Once you’ve prepped and primed your walls, you’re ready for the fun part—painting! But as any seasoned painter knows, achieving a flawless finish requires more than just slapping on a coat of paint. Here’s how to get it right, from selecting the best paint to applying those crucial final coats.
Selecting the Right Paint
Choosing the right paint is half the battle when it comes to covering previously greasy surfaces. You want a paint that not only looks good but also stands up to the challenges of high-traffic and high-grease areas like kitchens.
First, opt for high-quality paints known for their durability and coverage. Brands like Sherwin-Williams, Benjamin Moore, and Behr offer top-tier products that are well-regarded in the industry. Look for paints specifically designed for kitchens and bathrooms, as these often include additives that resist moisture and mildew.
When it comes to finishes, satin or semi-gloss are your best bets. These finishes strike a balance between aesthetics and functionality. Satin offers a soft sheen that's easy to clean, while semi-gloss provides a bit more shine and is even more resistant to moisture and stains. I’ve found that semi-gloss works wonders in kitchens where grease and spills are more common—it's easier to wipe down without leaving residue behind.
Applying the Paint
Now that you’ve chosen the perfect paint, it’s time to apply it. This is where technique really comes into play. Start by stirring the paint thoroughly to ensure even consistency. If you’re working with a large area, pour a manageable amount of paint into a tray rather than working straight from the can—this helps avoid messes and keeps your paint fresh longer.
When applying paint over a primed surface, using a high-quality brush or roller is key. For walls, I recommend a 3/8-inch nap roller for smooth surfaces or a 1/2-inch nap for slightly textured surfaces. A good brush, like a 2- to 2.5-inch angled sash brush, is perfect for cutting in along edges and corners.
Start painting from the top and work your way down. This method helps you catch any drips or runs before they dry. Use long, even strokes, and avoid overloading your brush or roller with paint to prevent streaks. If you’re using a roller, roll in a ‘W’ or ‘M’ pattern to distribute the paint evenly, then fill in the gaps with smooth, horizontal strokes.
Multiple Coats for Best Results
Even with the best paint, achieving a professional-looking finish often requires more than one coat. The first coat is essential for covering the primer and establishing a base layer. However, a second coat ensures full coverage, deepens the color, and provides that smooth, polished finish that’s so satisfying.
After applying the first coat, allow the paint to dry according to the manufacturer’s instructions—typically around two to four hours, depending on the paint type and room conditions. Once the first coat is dry to the touch, inspect the walls. If the primer is still visible in any spots or if the color looks uneven, it’s time for a second coat.
Apply the second coat in the same manner as the first, using smooth, even strokes and taking care not to overload your brush or roller. The second coat should go on more smoothly and dry to a more even finish. For darker colors or heavily textured walls, a third coat may be necessary to achieve a fully uniform look.
Preventing Future Grease Stains
After all that hard work, the last thing you want is for grease stains to reappear. Fortunately, with a little foresight and some simple maintenance, you can keep your walls looking fresh and clean for years to come.
Regular Cleaning and Maintenance
Prevention is the best cure, especially when it comes to grease stains. Establishing a regular cleaning routine is crucial for maintaining the appearance of your newly painted walls. In kitchens and other high-grease areas, aim to wipe down walls at least once a week with a mild detergent or an all-purpose cleaner. This routine cleaning will prevent grease from building up and seeping into the paint over time.
For tougher spots, especially around stoves and sinks, you might need a little extra elbow grease. A mixture of warm water and a few drops of dish soap works well. For more stubborn stains, consider using a solution of white vinegar and water or a commercial kitchen cleaner designed to cut through grease.
Protective Measures
If you’re looking to add an extra layer of protection, consider installing a backsplash behind your stove and countertops. Backsplashes not only add a decorative element to your kitchen but also protect your walls from splatters and grease stains. Materials like tile, glass, or stainless steel are durable, easy to clean, and can be a stylish addition to your space.
Another preventive measure is to use a washable paint or a clear protective sealant over your painted walls. Washable paints are formulated to withstand repeated cleaning without losing their sheen or color. Alternatively, applying a clear acrylic or polyurethane sealant over your paint job can create a barrier that prevents grease from penetrating the paint. This is especially useful in kitchens and bathrooms where walls are frequently exposed to moisture and dirt.
In Our Experience:
"We've consistently seen how it stands up to the challenges of high-traffic areas and heavy-duty cleaning. Its superior stain-blocking technology has made it a favorite for kitchens and playrooms, where durability and easy maintenance are key. Clients are always impressed with the coverage and longevity of the finish, making it a top recommendation for any painting project."
Lightmen Painting’s Expertise in Handling Grease Stains
When it comes to dealing with stubborn grease stains, not all solutions are created equal. At Lightmen Painting, we’ve honed our techniques to ensure that even the most challenging stains don’t stand a chance. Whether you’re dealing with kitchen walls marred by years of cooking or a one-off accident that left a noticeable mark, we’ve got the experience and know-how to restore your walls to their pristine condition.
Our Proven Methods
At Lightmen Painting, we start by tackling grease stains with professional-grade products that are specifically designed to cut through tough grime. We don’t just cover up stains—we remove them at their source to ensure that your new paint job is flawless and long-lasting.
Our step-by-step process begins with a thorough cleaning of the affected area. We use powerful yet safe degreasers that break down the grease without damaging your walls. This step is crucial because it prevents the grease from seeping through the primer and paint later on, which can ruin an otherwise perfect finish.
Once the area is completely clean and dry, we apply a high-quality primer, often choosing an oil-based or shellac-based primer depending on the severity of the stains. These primers are specifically formulated to block out stains and provide a solid foundation for the topcoat. Applying the primer with care ensures that the paint will adhere properly and that the stain won’t bleed through.
After the primer has dried, we move on to painting. We use premium paints that offer excellent coverage and durability, such as Sherwin-Williams or Benjamin Moore. These paints not only provide a beautiful finish but also offer added protection against future stains. By carefully selecting the right tools and techniques, we apply the paint in smooth, even coats, ensuring a flawless finish that will stand the test of time.
Our team at Lightmen Painting takes pride in every project, big or small. We know that attention to detail makes all the difference, and we’re committed to delivering results that exceed your expectations.
Customer Success Stories
Over the years, we’ve helped countless clients overcome the challenge of grease stains. One of our most memorable projects involved a kitchen renovation where the walls had been exposed to years of cooking. The grease stains were deeply embedded, and the homeowners were concerned that nothing could restore their walls. They had tried various DIY solutions with little success, leaving them frustrated and ready to give up.
When they contacted us, we assured them that we could handle the job. We applied our proven methods, starting with a deep clean and moving through the priming and painting stages. The transformation was incredible. The walls looked brand new, with no trace of the old grease stains. The homeowners were thrilled with the results and couldn’t believe how fresh and clean their kitchen felt.
Another success story comes from a restaurant owner who was struggling with grease stains in his busy kitchen. The high traffic and constant cooking had taken a toll on the walls, and he needed a solution that would not only cover the stains but also withstand the daily wear and tear of a commercial kitchen. We recommended a durable, washable paint paired with a powerful primer, and the results spoke for themselves. The walls were not only stain-free but also much easier to maintain moving forward.
These are just a few examples of how Lightmen Painting has helped clients reclaim their spaces from the clutches of stubborn grease stains. Our commitment to quality and customer satisfaction drives us to deliver the best results every time.
Grease stains can be a homeowner’s worst nightmare, but with the right approach, they’re no match for a professional paint job. At Lightmen Painting, we’ve developed proven methods to tackle even the toughest stains, ensuring that your walls look their best. Whether you’re dealing with a small stain or a full-scale kitchen renovation, you can tackle the problem with confidence using the tips and techniques shared here.
Do You Have Questions? Give Us A Call With Any & All! 503-389-5758
-
People Also Ask:
How can I effectively cover grease stains before painting?
Before painting over grease stains, it's crucial to clean the surface thoroughly using a degreaser or a mixture of vinegar and water. Apply a stain-blocking primer, such as an oil-based or shellac-based product, to prevent the grease from seeping through the new paint.
What type of primer should I use for grease stains?
For grease stains, oil-based or shellac-based primers are most effective. These primers offer excellent adhesion and stain-blocking properties, ensuring that the stains do not bleed through the final paint layer.
Can I use regular paint over a grease-stained wall?
Regular paint alone is not suitable for covering grease stains, as it may not adhere properly and the stains could bleed through. It is recommended to first apply a stain-blocking primer and then use a durable paint designed for high-traffic areas.
-
SUBSCRIBE TO OUR BLOG: Stay informed with the latest in Painting and DIY projects by subscribing to Lightmen Painting. Get insights, tips, and more delivered straight to your inbox. We would also love to know what you would like to read about, leave thoughts on where we should go next. Interests, Topics, Ideas, all are welcome.

If your in the Portland, Or. area and need advice or a free no obligation estimate call us at 503-389-5758 or email scheduling@lightmenpainting.com
Shout Out:
Celebrating My eShowroom: Your Comprehensive Source for Building Materials
From the team at Lightmen Painting, we extend our highest praise to My eShowroom for their dedication to providing a comprehensive resource for building materials and home improvement products. Just as we strive for excellence and meticulous craftsmanship in our painting services, My eShowroom excels in offering detailed product information and expert advice. Their commitment to quality and customer satisfaction aligns perfectly with our mission to enhance and beautify environments through professional painting solutions.
Thanks for stopping by Lightmen Daily! Stay tuned for more practical tips and expert advice on making your painting projects flawless, from wall to floor!
Definitions
- Stain-Blocking: Refers to the ability of paint or primer to prevent stains from penetrating and showing through the surface.
- One-Coat Coverage: The capability of paint to completely cover the underlying color or stains with just a single application.
- Degreaser: A chemical product used to remove grease and oil from surfaces, essential for preparing kitchens and other greasy areas for painting.
- Durability: The ability of paint to withstand wear and tear, maintaining its appearance over time without peeling or fading.
- VOC (Volatile Organic Compounds): Chemicals in paint that can evaporate into the air, affecting air quality; low-VOC paints are preferable for healthier indoor environments.
- Primer: A preparatory coating put on materials before painting, ensuring better adhesion of paint to the surface, increasing durability, and providing additional protection.
- Adhesion: The ability of paint to stick effectively to the surface without peeling or cracking.
- Acrylic Resins: Synthetic resins used in high-quality latex paints, providing durability and excellent color retention.
- Alkyd Resins: Oil-based synthetic resins used in paints and varnishes, known for their glossy finish and durability.
- Satin Finish: A type of paint finish that has a soft sheen, less shiny than semi-gloss but more reflective than matte, ideal for walls where durability and easy cleaning are important.
Lightmen Painting Serving: Portland, Tigard, Lake Oswego, Tualatin, West Linn, Milwaukie, Sherwood, Happy Valley, Oregon City, Beaverton, Hillsboro, Gresham -Trade Partners-